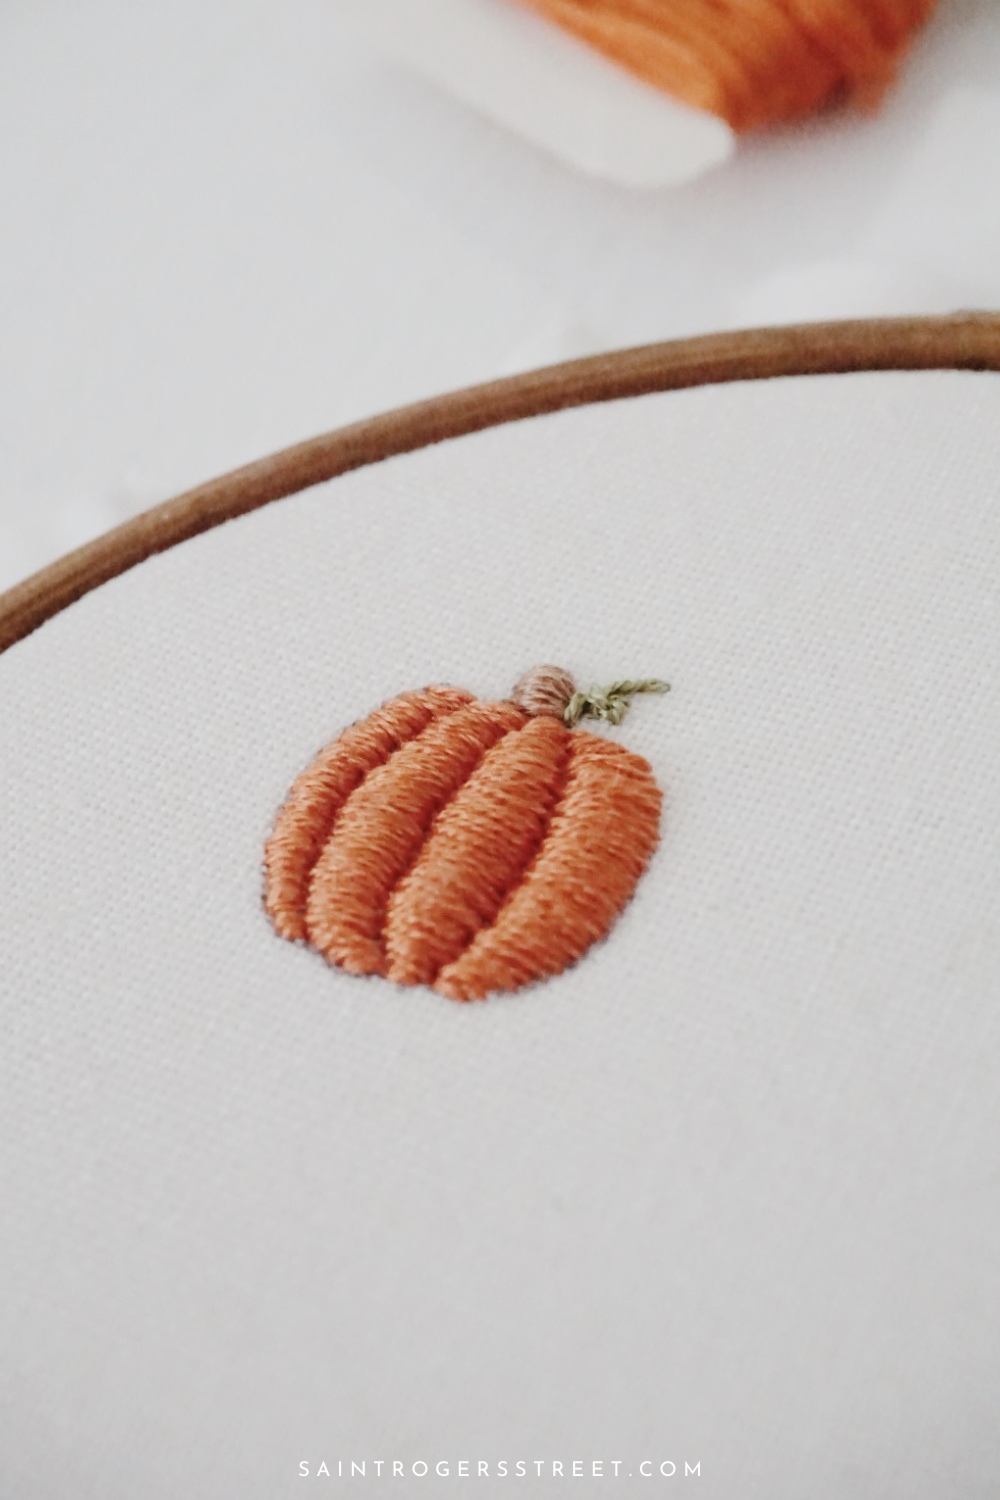
Learn how to embroider a simple pumpkin with this quick and easy step-by-step tutorial!
Stitch your pumpkins up in any color of your choice. Here I used DMC Embroidery Floss and the colors I used were:
- DMC 3776 (the perfect pumpkin orange : )
- DMC 3863 (light brown)
- DMC 3364 (light green)
These pumpkins are super easy to stitch up. They include just 3 simple stitches:
- The Straight Stitch (optional)
- The Satin Stitch
- The Stem Stitch
If you are unfamiliar with any of these beginner friendly embroidery stitches watch the stitch tutorials on my YouTube Channel to learn how to make them yourself. You can find the links to each embroidery stitch above, or find my full hand embroidery stitch tutorial playlist here.
Stitching Steps:
Please note, I always embroider with DMC Embroidery Floss as it is such great quality and can pretty much be found at any craft store! DMC Embroidery Floss is made up of six different strands of thread. When embroidering you don’t have to use all six, you can split them and stitch with a different number of threads based on your preference. If you aren’t sure how to split your floss, check out this quick tutorial.
Step 1:
To get started on my pumpkin embroidery I used all six strands of DMC 3776 to lay down a base layer to give my pumpkin more of a 3D effect. Now this step is totally optional, you could skip the base layer and skip straight to the 2nd step, but I think it’s fun and gives the pumpkin a more elevated look! To lay down the base layer I simply started adding in some vertical Straight Stitches inside of each section of the pumpkin.
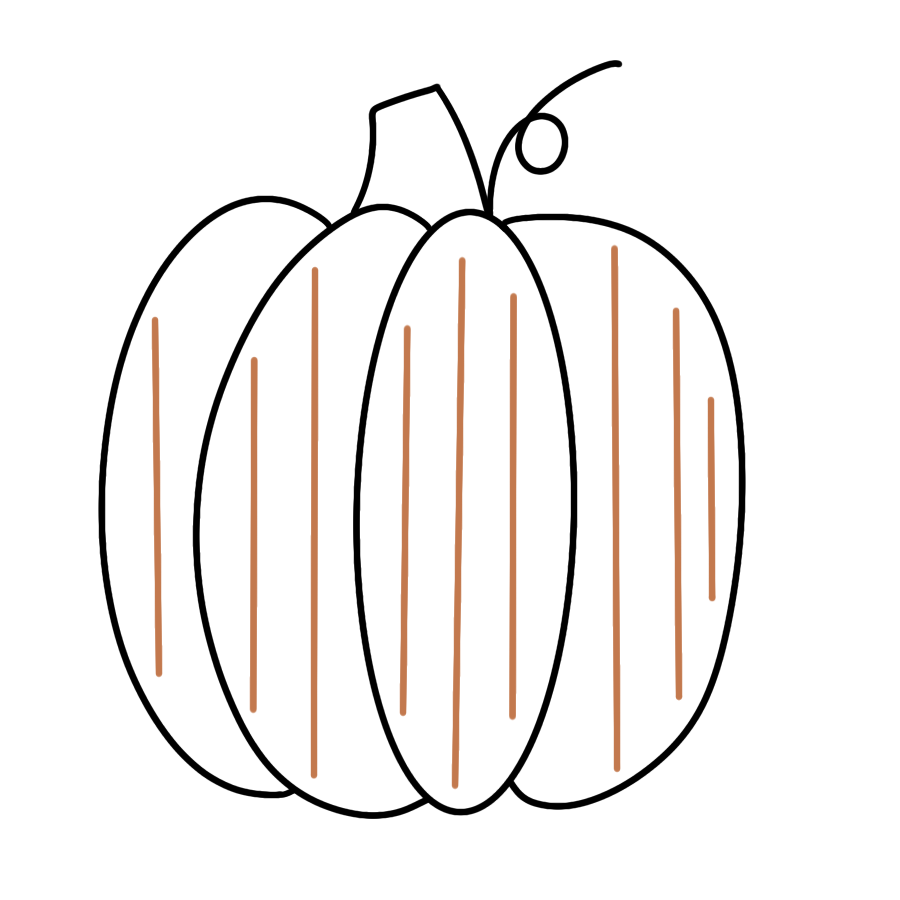
I then added in some diagonal Straight Stitches for the sections of the pumpkins that were a bit more curved. Since this is just the base layer of our pumpkin embroidery design there is no pressure to make these stitches look good, in fact feel free to be sloppy with these stitches as in the next step they will be 100% covered with Satin Stitches.
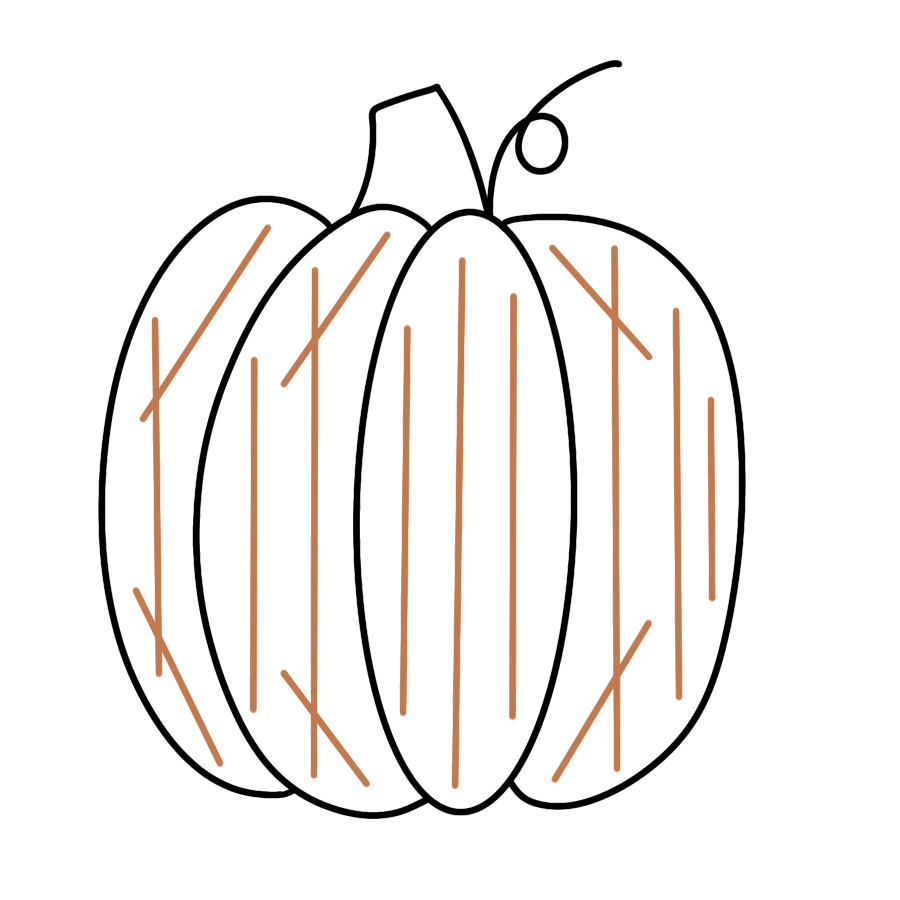
At this point the more Straight Stitches you make, the more height your pumpkin will have. Don’t be afraid to add Straight Stitches on top of your other Straight Stitches. Add as many or as few as you feel fitting.
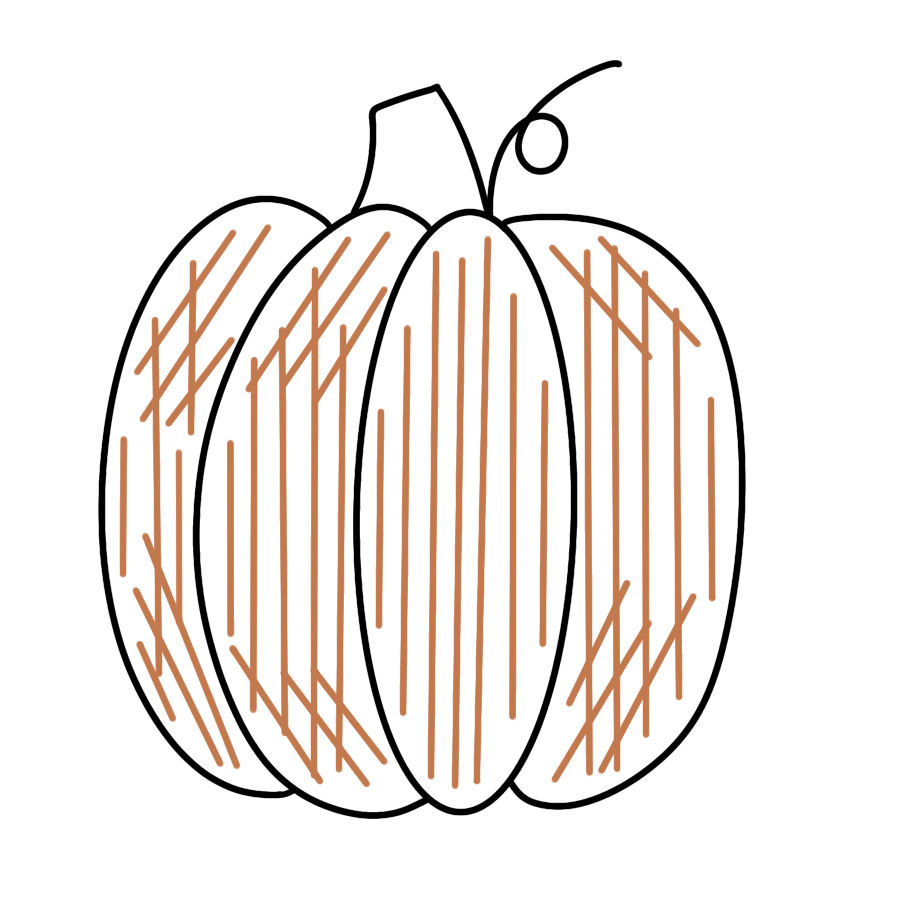
Step 2:
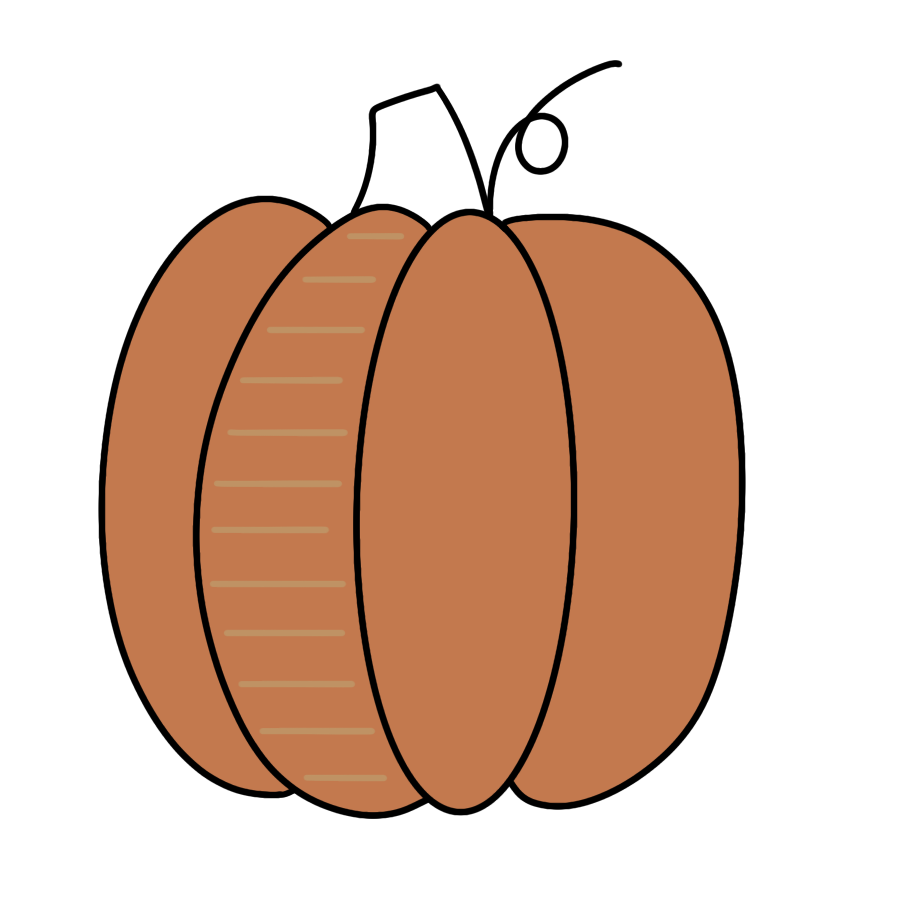
Now that the base layer is complete, I simply Satin Stitched over top of these stitches horizontally. Here instead of using all six strands of the orange embroidery floss, I switched down to using just three stands of floss. When Satin Stitching, using three strands of embroidery floss is always my happy go to as I only have to split my floss once and it allows my needle and thread to go through the fabric more easily as opposed to using all six strands so close together.
Step 3:
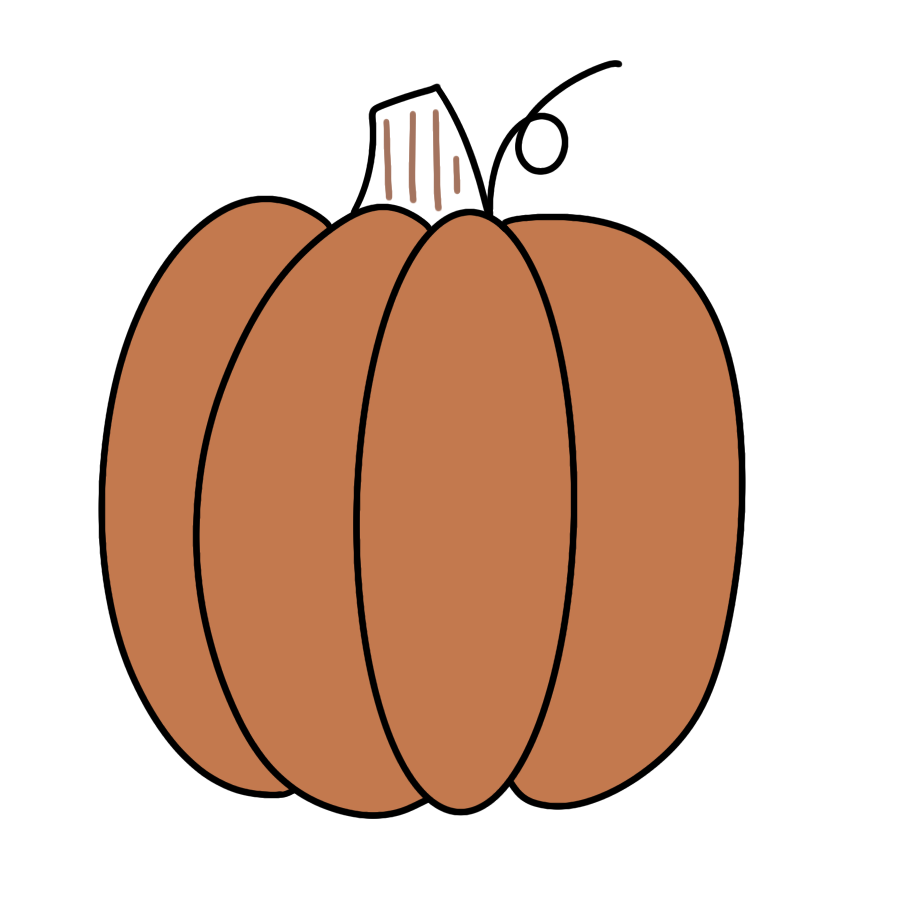
Next up is the stem. Here I used three strands of DMC 3863 and basically repeated the previous steps, but on the stem. I first laid the foundation of the stem with vertical Straight Stitches.
Step 4:
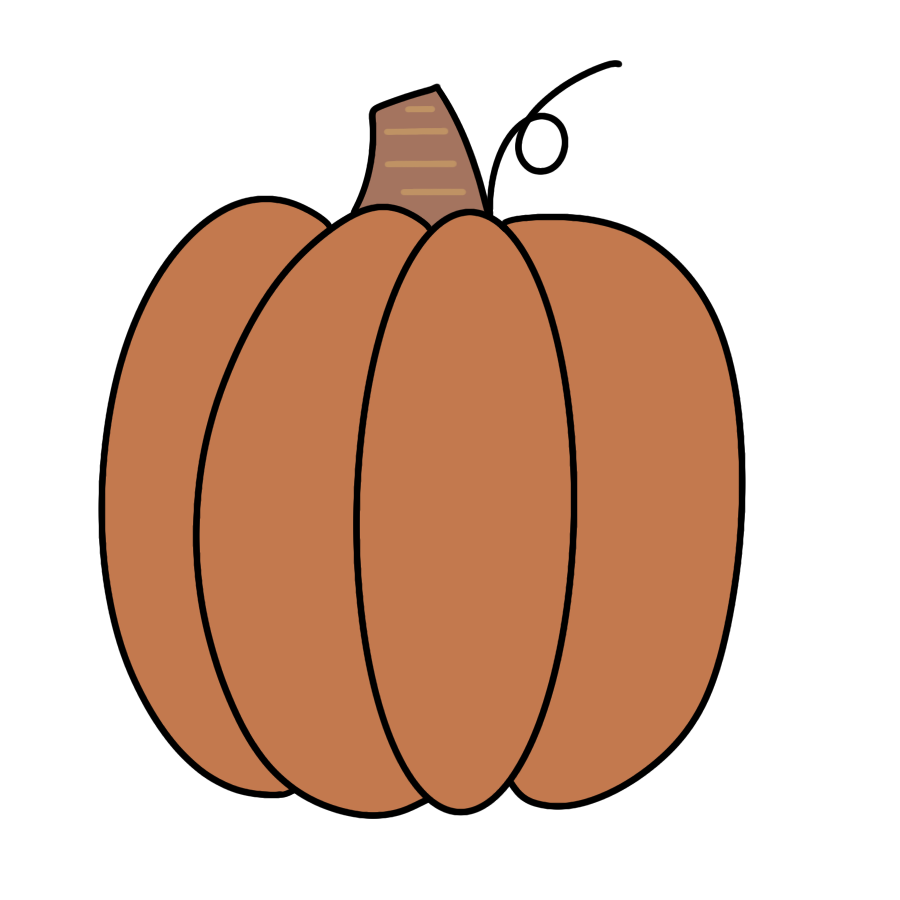
Then I Satin Stitched over top of those Straight Stitches vertically.
Step 5:
The only thing left to do now is to embroider the vine! For this I used two strands of DMC 3364 and the Stem Stitch.
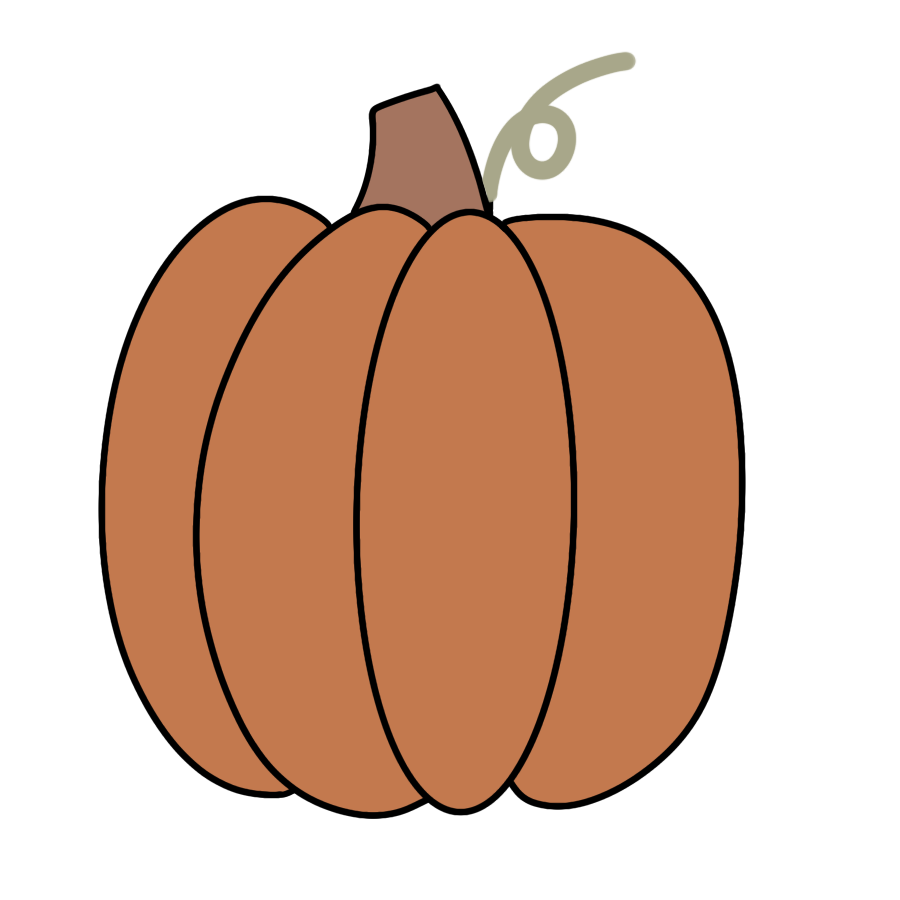
By now you should have something that looks like this!
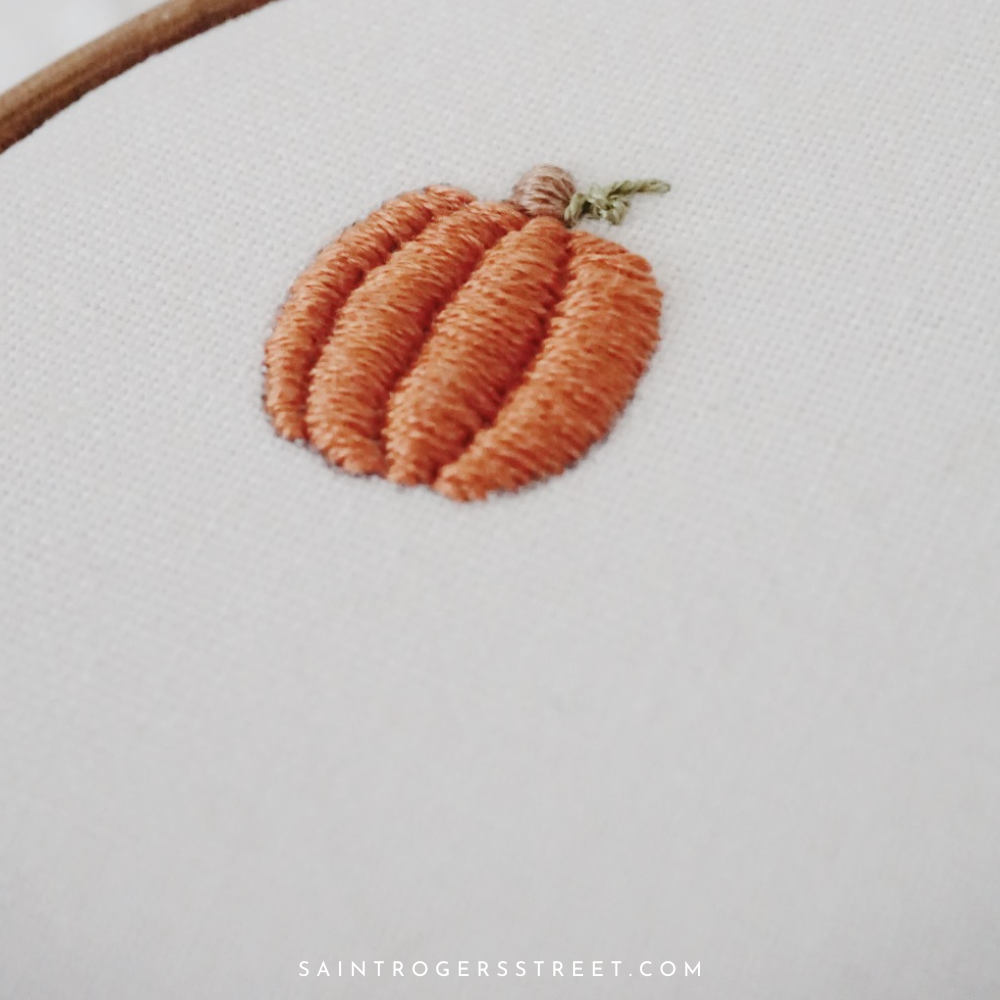
I think this little pumpkin turned out so cute! I hope you loved stitching it up and enjoy adding it to your own hand embroidery projects! If you’re looking for other fun little hand embroidery projects, step-by-step tutorials, and free embroidery patterns be sure to subscribe to my YouTube Channel and check out my latest projects here on the blog!
Thanks for stitching with me! -Kylie

