
Moving into a new space is such an exciting time as the DIY possibilities are essentially endless, however when you’re renting or are on a small budget that excitement can feel quite a bit stifled as you can’t do all the real heavy duty renovations. But who needs the really heavy duty renovations when you can get the same look for far less work at a fraction of the cost… or rather in the case of this faux shiplap, completely FREE!
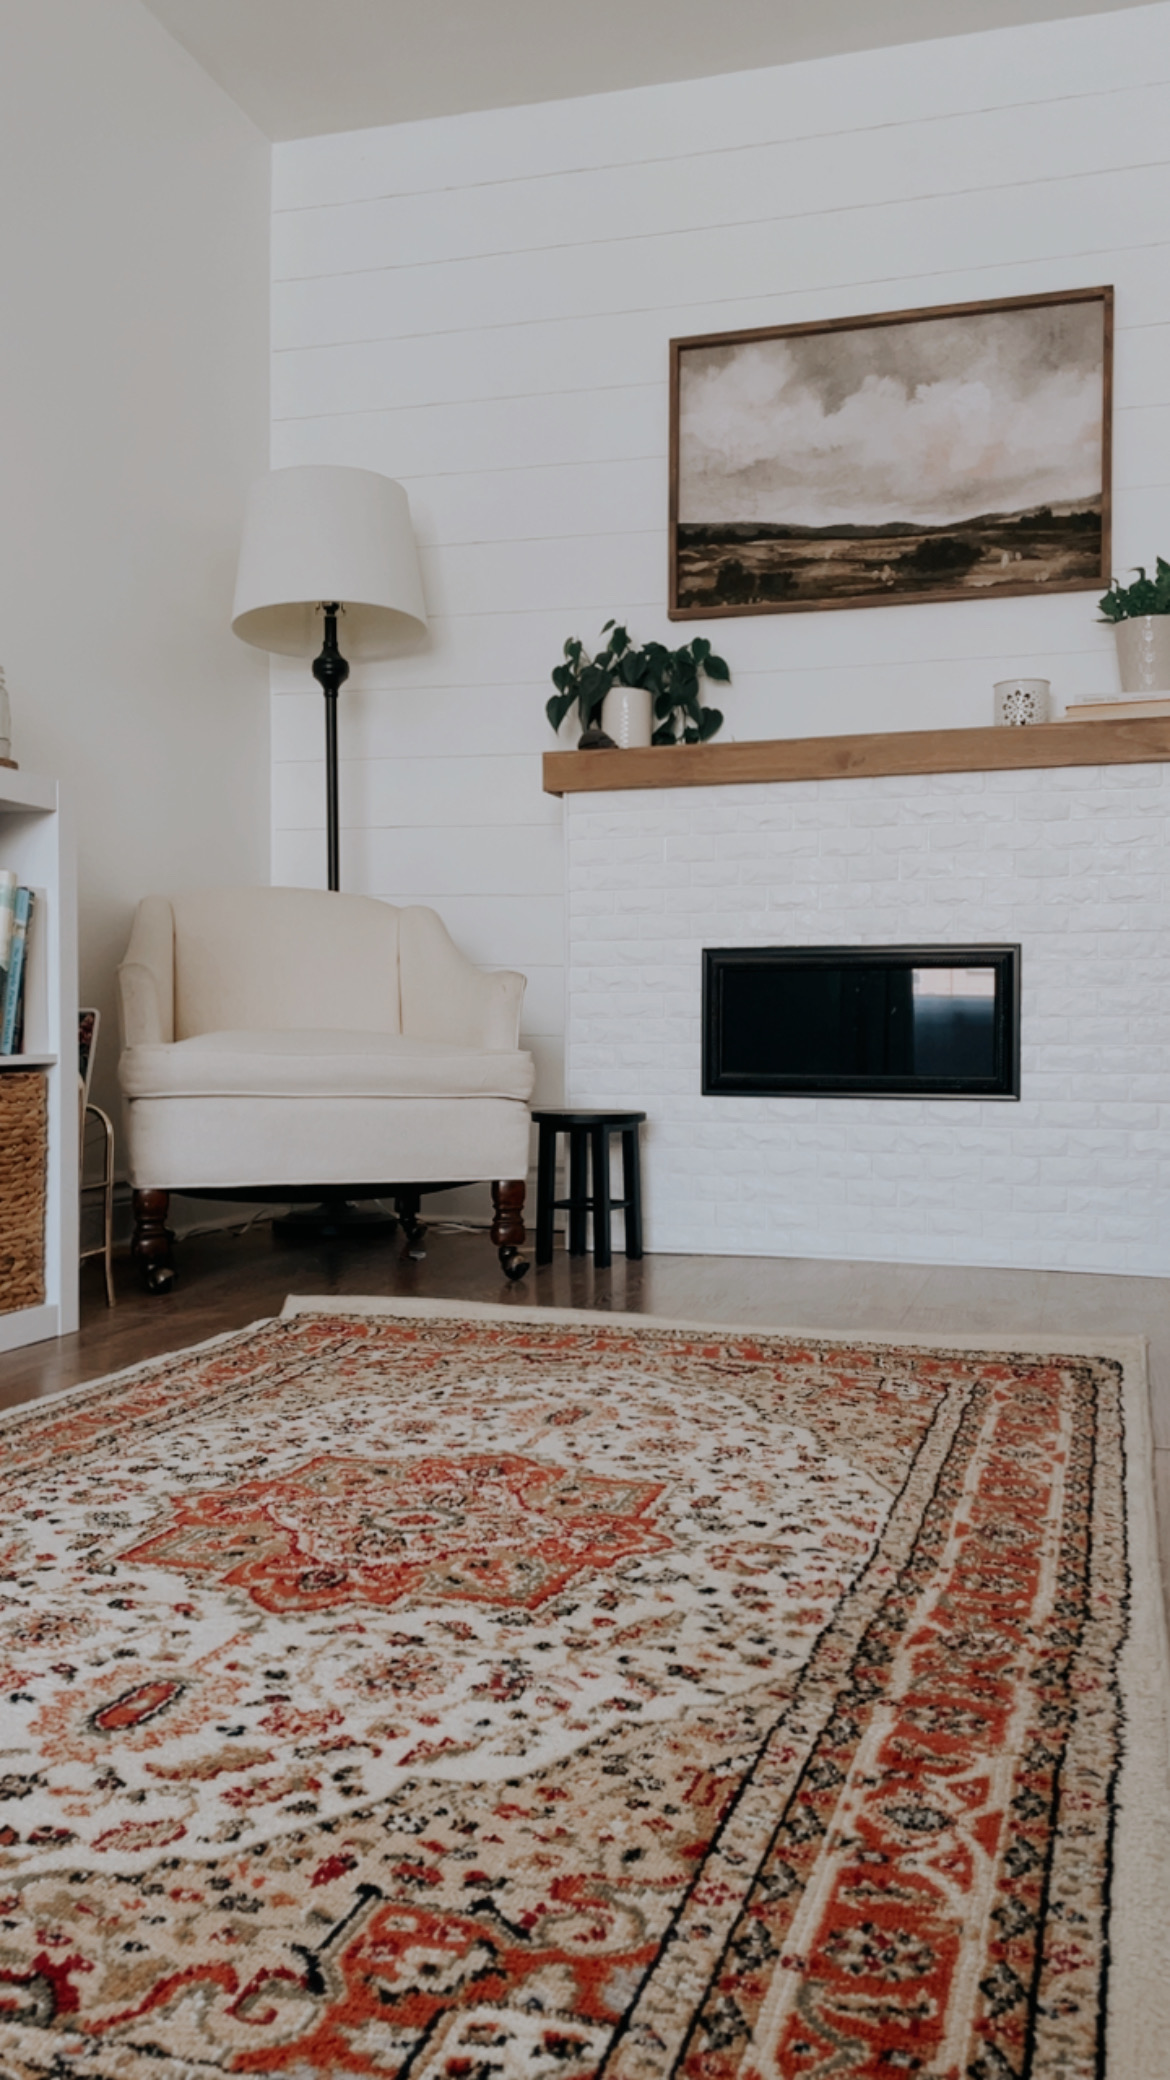
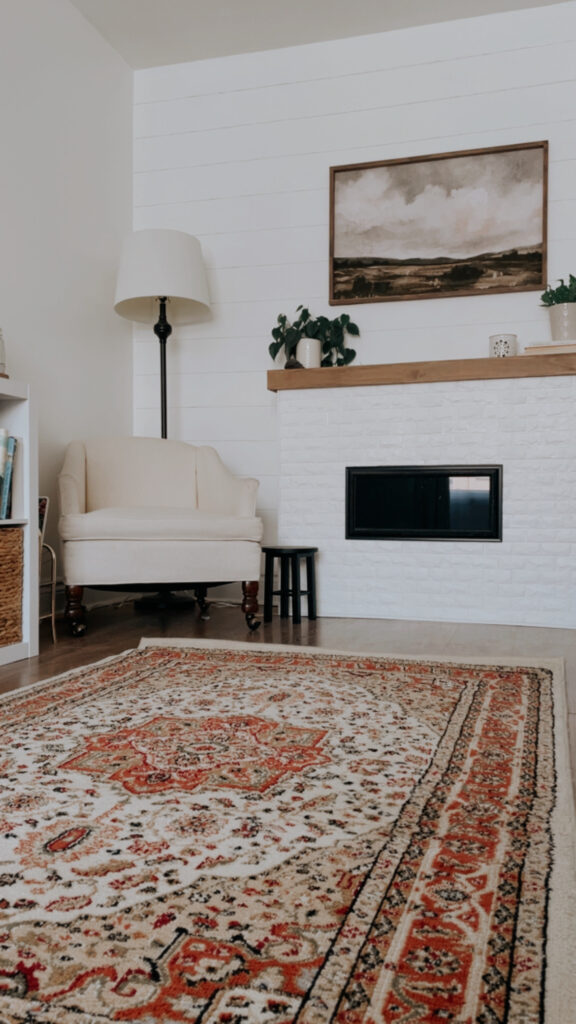
When I first moved into this rental I knew I wanted to incorporate shiplap into my walls as I absolutely loved the look! Shiplap takes a plain old white wall and adds so much more interest and character into the room without overwhelming it. Since renting I wasn’t able to nail gun tons of shiplap onto the wall nor did I want to spend that kind of money on this project.
I considered using peel and stick shiplap wallpaper to get the job done, but the peel and stick wallpapers just didn’t look realistic to me. That’s when I resorted to grabbing a level and a pencil and simply drawing horizontal lines across the whole wall. & the best part, it really looks real! Our apartment complex just did their annual inspections to ensure that all is well inside and no damage is being done to the unit. Upon exiting our townhouse the maintenance man said everything looked good, though the living room wall made him nervous until he went up to inspect it closer, he had to touch it to know that the shiplap was fake haha! He thought I actually nail gunned shiplap to the whole wall. I call that a win in my books!
So now that we know this faux shiplap actually looks real for a bargain of a deal ($0!), how can you achieve this look? It’s super simple, let me show you!
Step-by-Step DIY Faux Shiplap Wall:
First things first, gather your supplies. You likely already have these items lying around the house! All you need is:
- A ruler
- A level
- & A pencil with an eraser (preferably a white eraser)
To get started on the wall I first decided on my shiplap spacing. I decided to make my shiplap 6 inches wide.
- With that in mind I simply used a ruler and marked 6 inches from my starting point a number of different times across the entire wall.
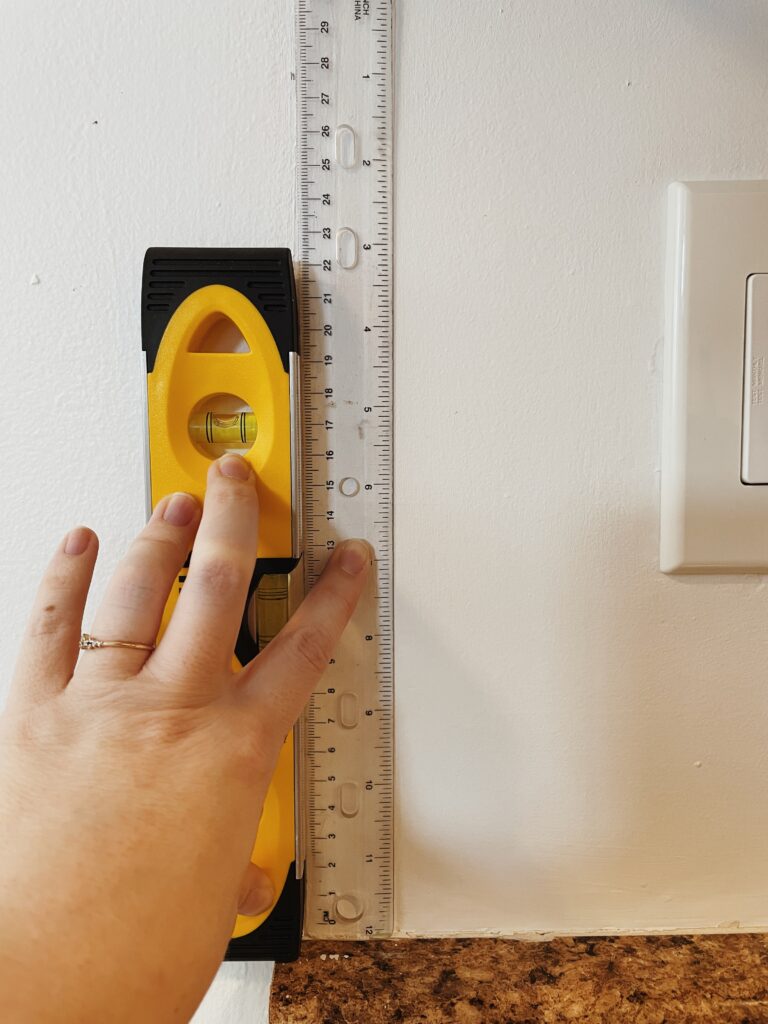
- I then used a straight edge to connect these markings I had just made
- Double checked my straight edge with a level to ensure my lines would be level
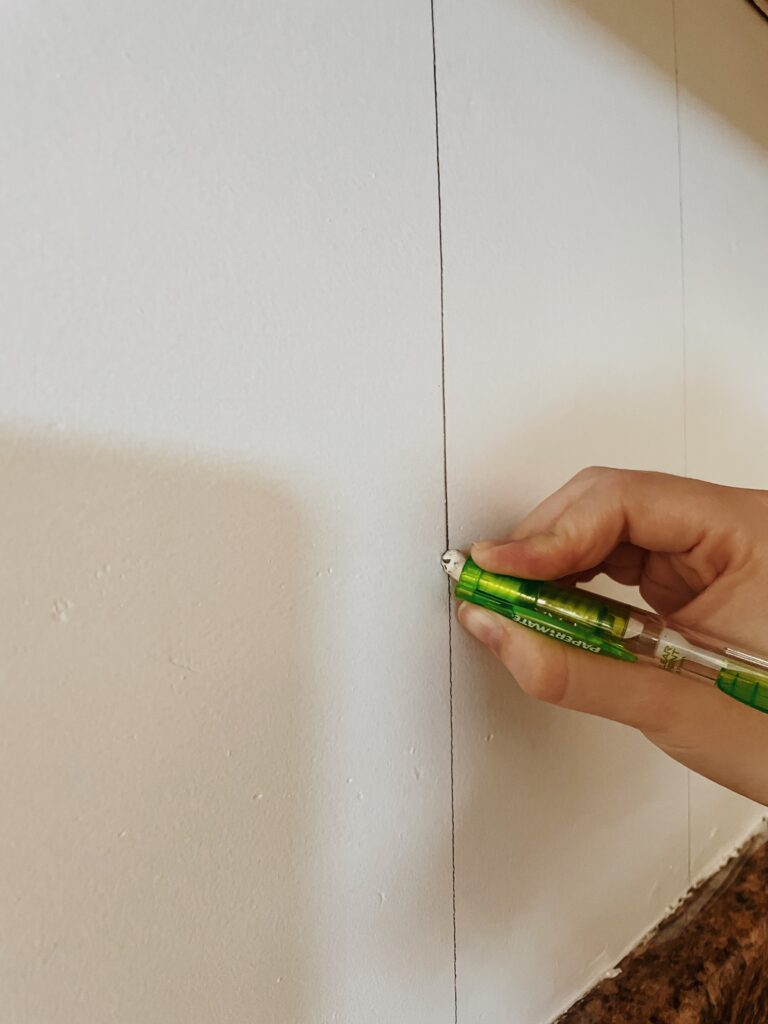
- Used a pencil to draw a line across (to thicken the line sometimes I went back and forth on my straight edge a couple times).
- Repeated steps 2-4 until the entire line had been drawn across the wall connecting all of my 6 inch markings
- & Lastly I ran over the line I had just created with the eraser (a white eraser is probably best to ensure the eraser doesn’t leave colored marks) on the tip of my pencil to smudge it a bit and give it a less rigid and more realistic look! Simply repeat this up and down the whole wall and you will have one beautiful shiplap accent wall!
Don’t limit yourself there though! There are so many other possibilities and beautiful outcomes you can create with this simple shiplap hack!
Other Creative Ways to use Faux Shiplap:
Go Vertical with your Shiplap
The new shiplap trend seems to be taking those beautiful wood boards and rotating them 90 degrees to be vertical. Instead of drawing horizontal lines on your walls, draw them on vertically for a cozy cottage look!
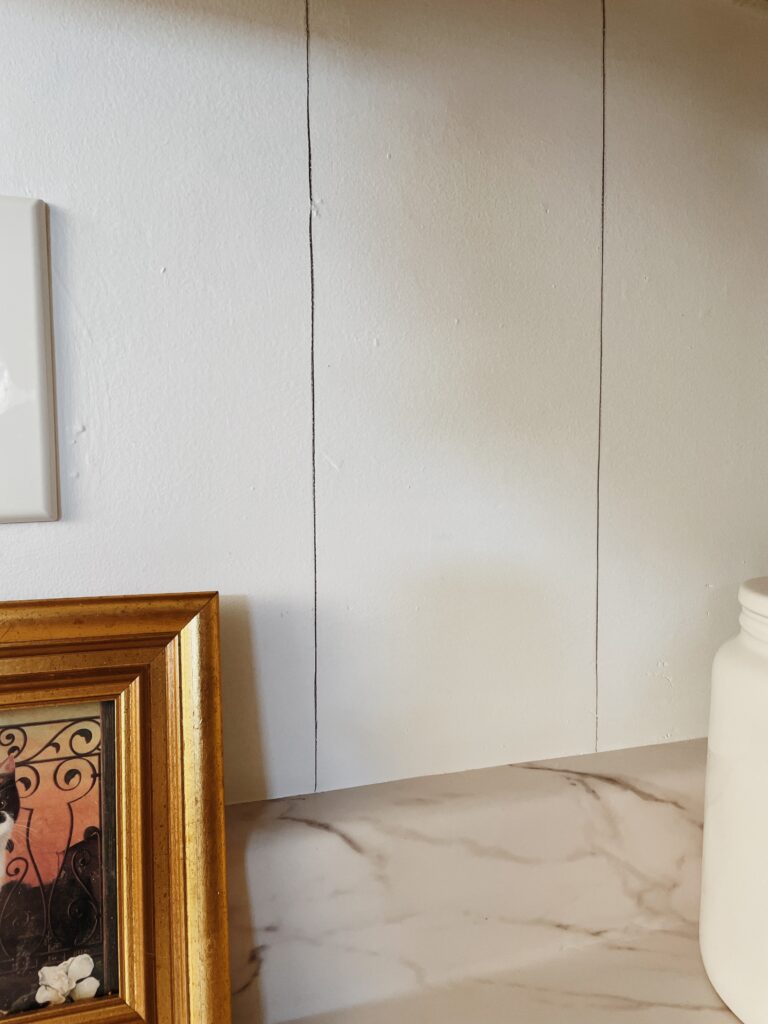
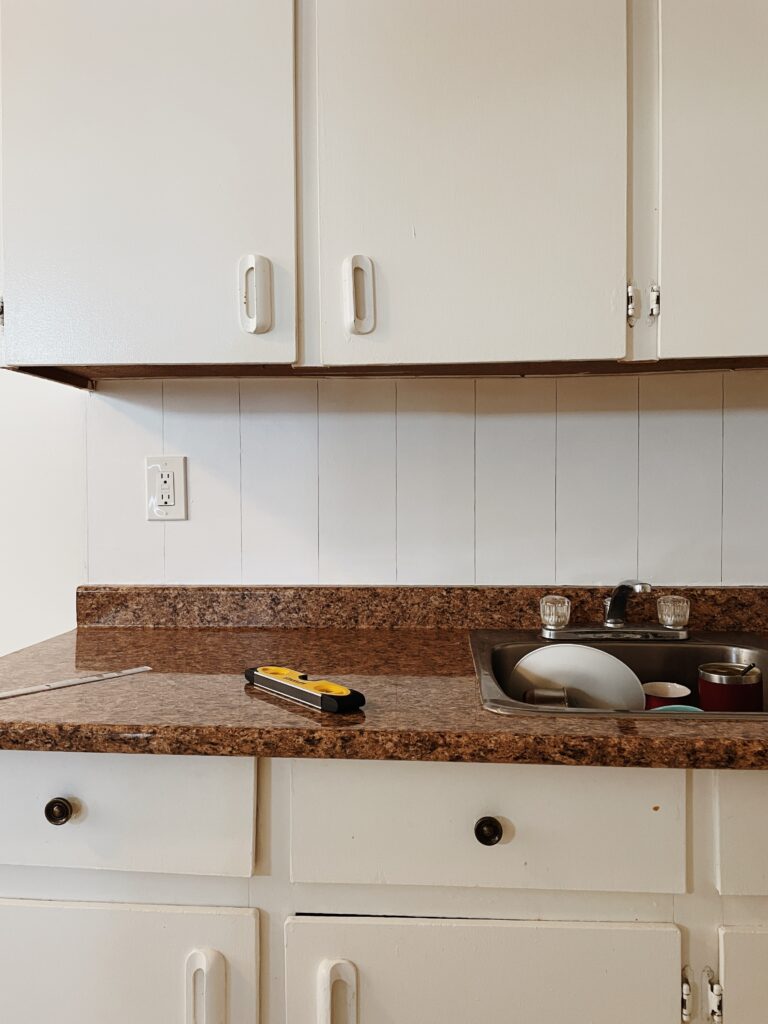
Add Character to Your Kitchen with Shiplap Backsplash
I recently did this to my kitchen and I absolutely love how it turned out. This faux shiplap was the perfect addition to my kitchen that gave it more of the cute & cozy cottagecore style I was going for. I also loved how quick of a project this was, I was done within 30 minutes!
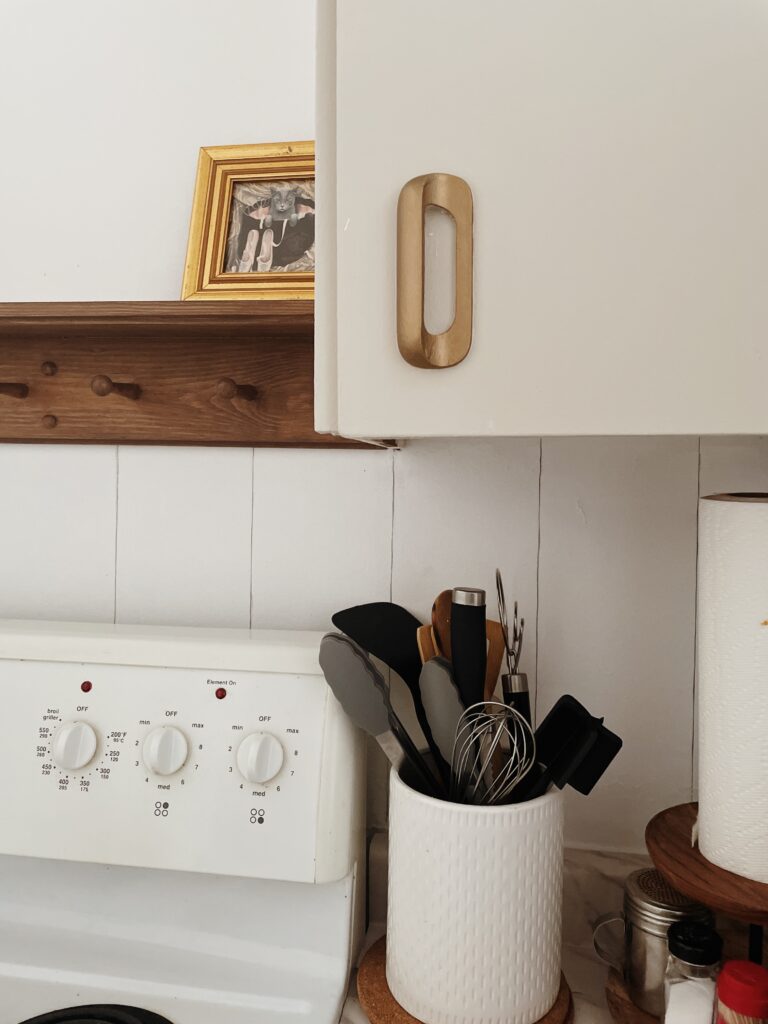
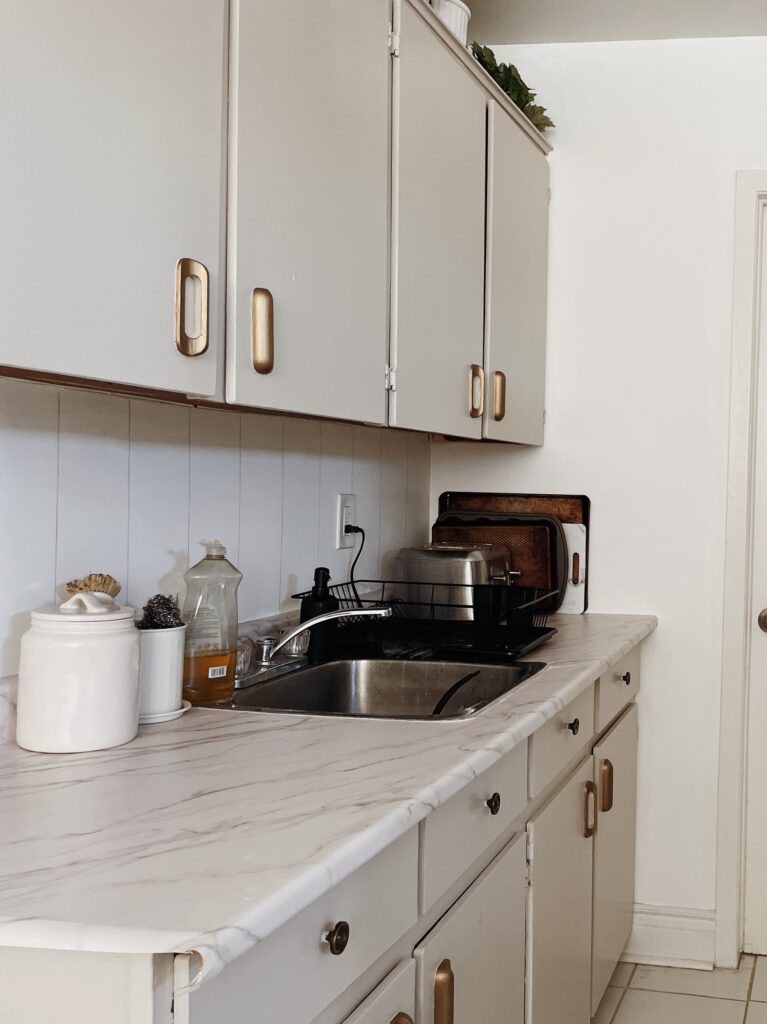
If you want to see how I transformed my cheap rental kitchen into a cozy cottagecore kitchen of my dreams check out this blog post.
Colored Shiplap
Another trend I’ve been seeing with shiplap to help elevate a space is to simply paint the shiplap. Now since we don’t have actual wooden planks to paint I think this look could totally be achieved by first painting the wall a fun accent color other than white and then simply adding our faux pencil line shiplap over top of the paint (as long as the paint color isn’t too dark to conceal the graphite marks).
How to Remove Pencil Lines:
Now I know what you might be thinking, yeah sure this all looks great, but what about when it comes time to remove it? Well I’ve had my faux shiplap wall up for the past two years and tested a section of it to see how easy it was to remove. I used a little water and a Mr. Clean Magic Eraser and it cleaned up quite nicely without a lot of elbow grease! Anyways worst comes to worst, if there are any faint lines leftover that are being stubborn I don’t think it’s anything a fresh coat of paint can’t solve.
Even if I do have to repaint this wall when I move out of this rental it has been well worth it for the joy this cozy shiplap accent wall adds to my heart : )
Hope you have fun creating your own shiplap wall! Catch you in my next DIY renter friendly project!
-Kylie
2 responses to “How to Create a Realistic Faux Shiplap Wall for FREE”
Thank you for all your ideas and also for the freebie patterns you publish. I really do appreciate it.
You’re welcome, glad you enjoy them!