
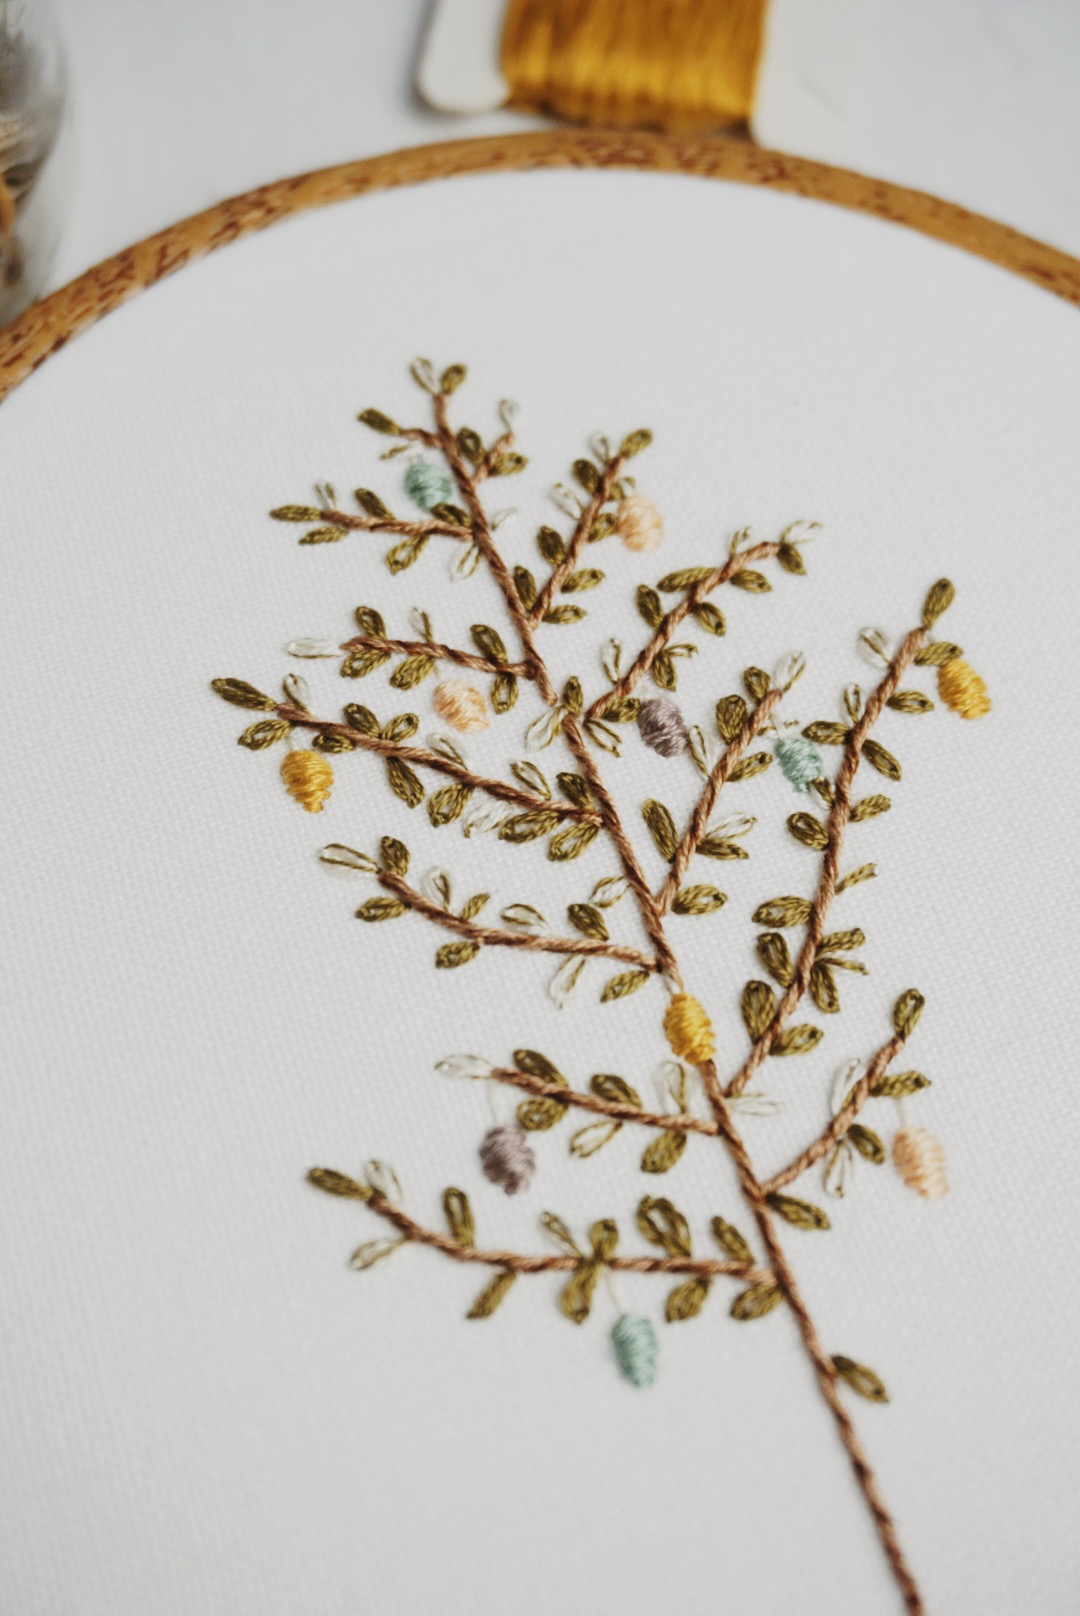
Follow along with these step-by-step stitching instructions to recreate this Easter egg tree embroidery hoop! You can find the PDF pattern download at the bottom of this page.
Supplies Needed:
- 6×7.5 inch oval embroidery hoop
- White colored fabric (a cotton linen blend is my go to, but 100% cotton works great too)
- Embroidery needle
- Scissors
- Listed DMC Embroidery Floss colors
- Transfer Pen (I like to use the Pilot Friction Erasable Gel Pen. The ink appears black when you apply it to the fabric & once you’re done stitching you simply hit it with some heat, like a blow dryer, and all the ink disappears leaving a clean stitched hoop! This pen takes the stress off of having to achieve a picture perfect transfer.)
- Optional: wood stain of your choosing to alter the color of your embroidery hoop
- Access to a printer to print this pattern (Find the PDF pattern download at the bottom of this page)
Embroidery Floss Colors:
- DMC 451
- DMC 503
- DMC 712
- DMC 729
- DMC 801
- DMC 945
- DMC 3011
- DMC 3863
Before You Start:
Before you start stitching you will need to prepare your embroidery hoop, this is quite simple, you’ll just need to-
- load your hoop with fabric
- & transfer the pattern onto your fabric. There are multiple ways to do this like using a transfer pen (The Pilot Friction Erasable Gel Pen), carbon transfer paper, stick and stitch paper, or printing the pattern onto your fabric at home using your own printer and sticky label paper. Any method will get the job done, but if you’re a beginner to hand embroidery and aren’t sure which option to choose or don’t have the supplies readily available you can totally just use a pencil and a light source, like a window or iPad screen to transfer the pattern. Once your pattern is transferred onto your fabric you are ready to start stitching!
Stitching Instructions:
Follow along with the step-by-step directions below to recreate this embroidery hoop. Each step will indicate how many strands of thread to use, the thread color to use, and the type of stitch to use. Each written stitching step corresponds with the image below it. Feel free to stitch-a-long with me over on YouTube as well!
Please Note: DMC Embroidery Floss is made up of 6 strands, you will need to split the floss accordingly. For example, if the pattern says “2 strands DMC 123,” you will cut a stretch of DMC 123 and separate 2 strands from the other 4 strands (which makes the 6 strand total). You will then stitch with just the 2 strands.
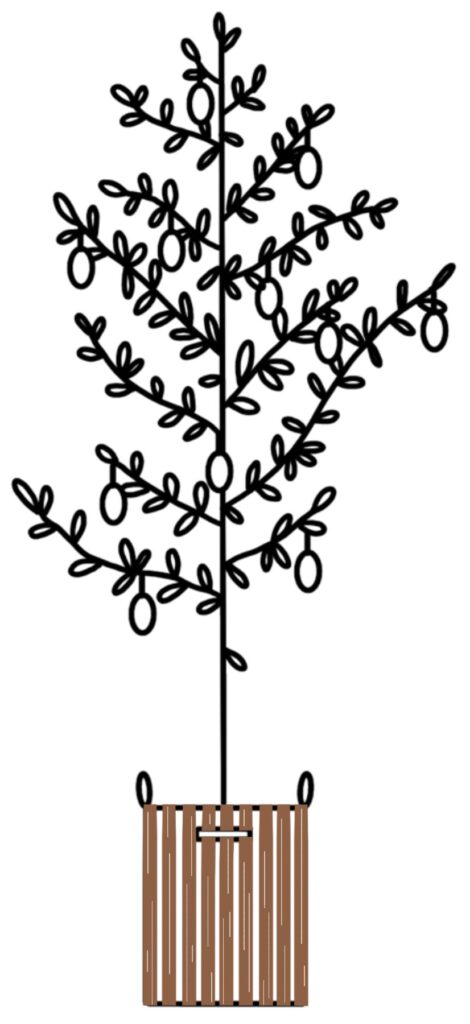
- Combine 5 strands of DMC 3863 with one strand of DMC 712 to create a six strand color combo. Using this combination Basket Weave just the base of the basket. The second step will complete the rest of the basket weave stitch.
2. Combine three strands of DMC 3863 with two strands of DMC 712 and one strand of DMC 801 to create a six strand color combo. Using this thread combination complete the Basket Weave Stitch on the basket.
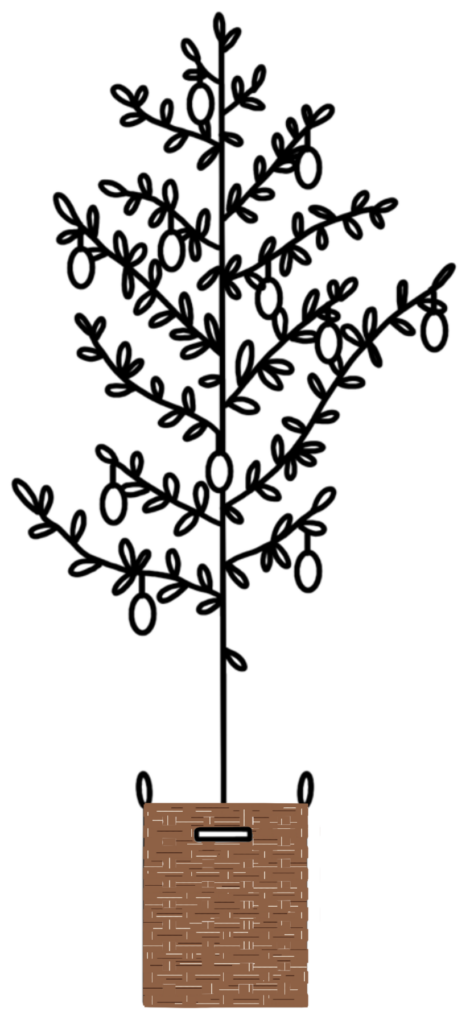
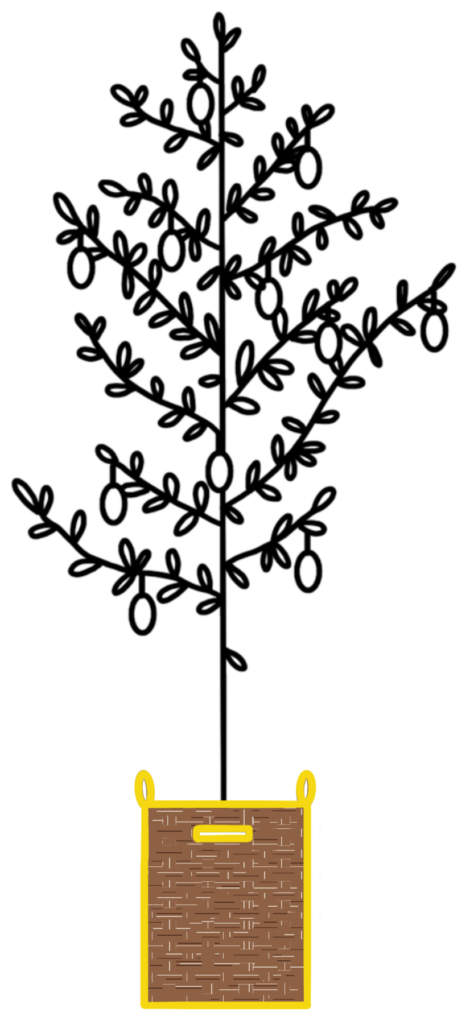
3. Using two strands of DMC 3863 Stem Stitch the border of the basket as well as the handles and center slot.
4. Combine three strands of DMC 3863 with one strand of DMC 801 to create a three strand color combo. Using this combination Whipped Backstitch the tree trunk and branches.

5. Using three strands of DMC 3011 Lazy Daisy some tree leaves.

6. Combine one strand of DMC 3011 with two strands of DMC 712 to create a three strand color combo. Using this combination Lazy Daisy Stitch the remaining leaves.
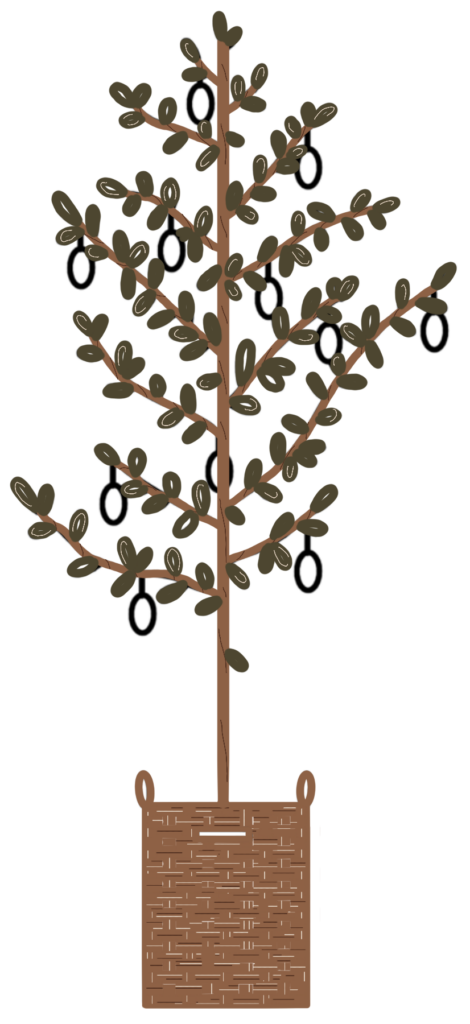
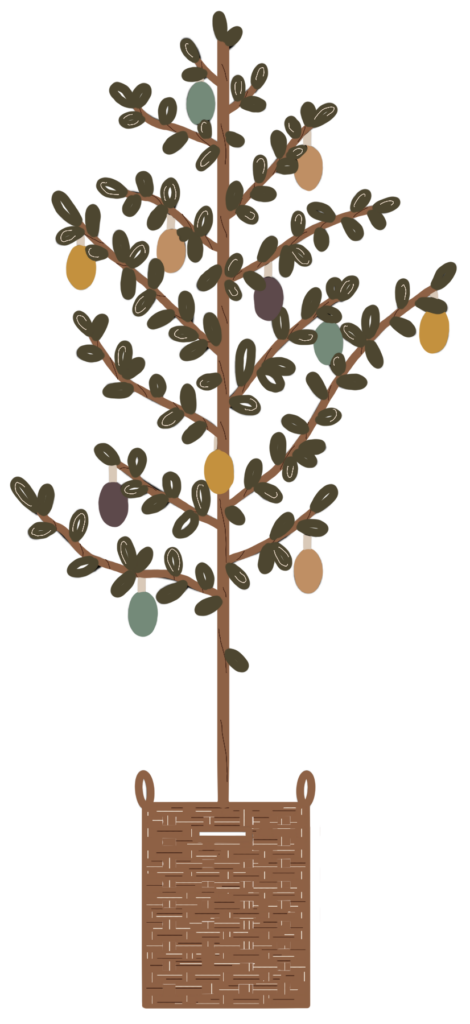
7. Using three strands of DMC 503, DMC 945, DMC 729, and DMC 451 Satin Stitch the eggs. If you’re wanting more of a 3D effect for your eggs add some stitches as the base layer before Satin Stitching.

8. Using two strands of DMC 712 add Straight Stitches between the hanging eggs and the branches. This will complete your Easter egg tree!
Back your Embroidery Hoop:
To back the hoop simply grab an extra strand of thread and use the Running Stitch to stitch around the border of the fabric that’s been hanging out of the edges of the hoop this whole time. Once you’ve made it all the way around the fabric pull on both ends of the strands of thread. This will tighten and pull your fabric together. Then you’ll want to double knot the strands together to secure it. Lastly trim the thread strands if they are too long and voila, you are done!
Congrats, you Finished!
Thanks so much for stitching with me : ) I hope you enjoyed this project!