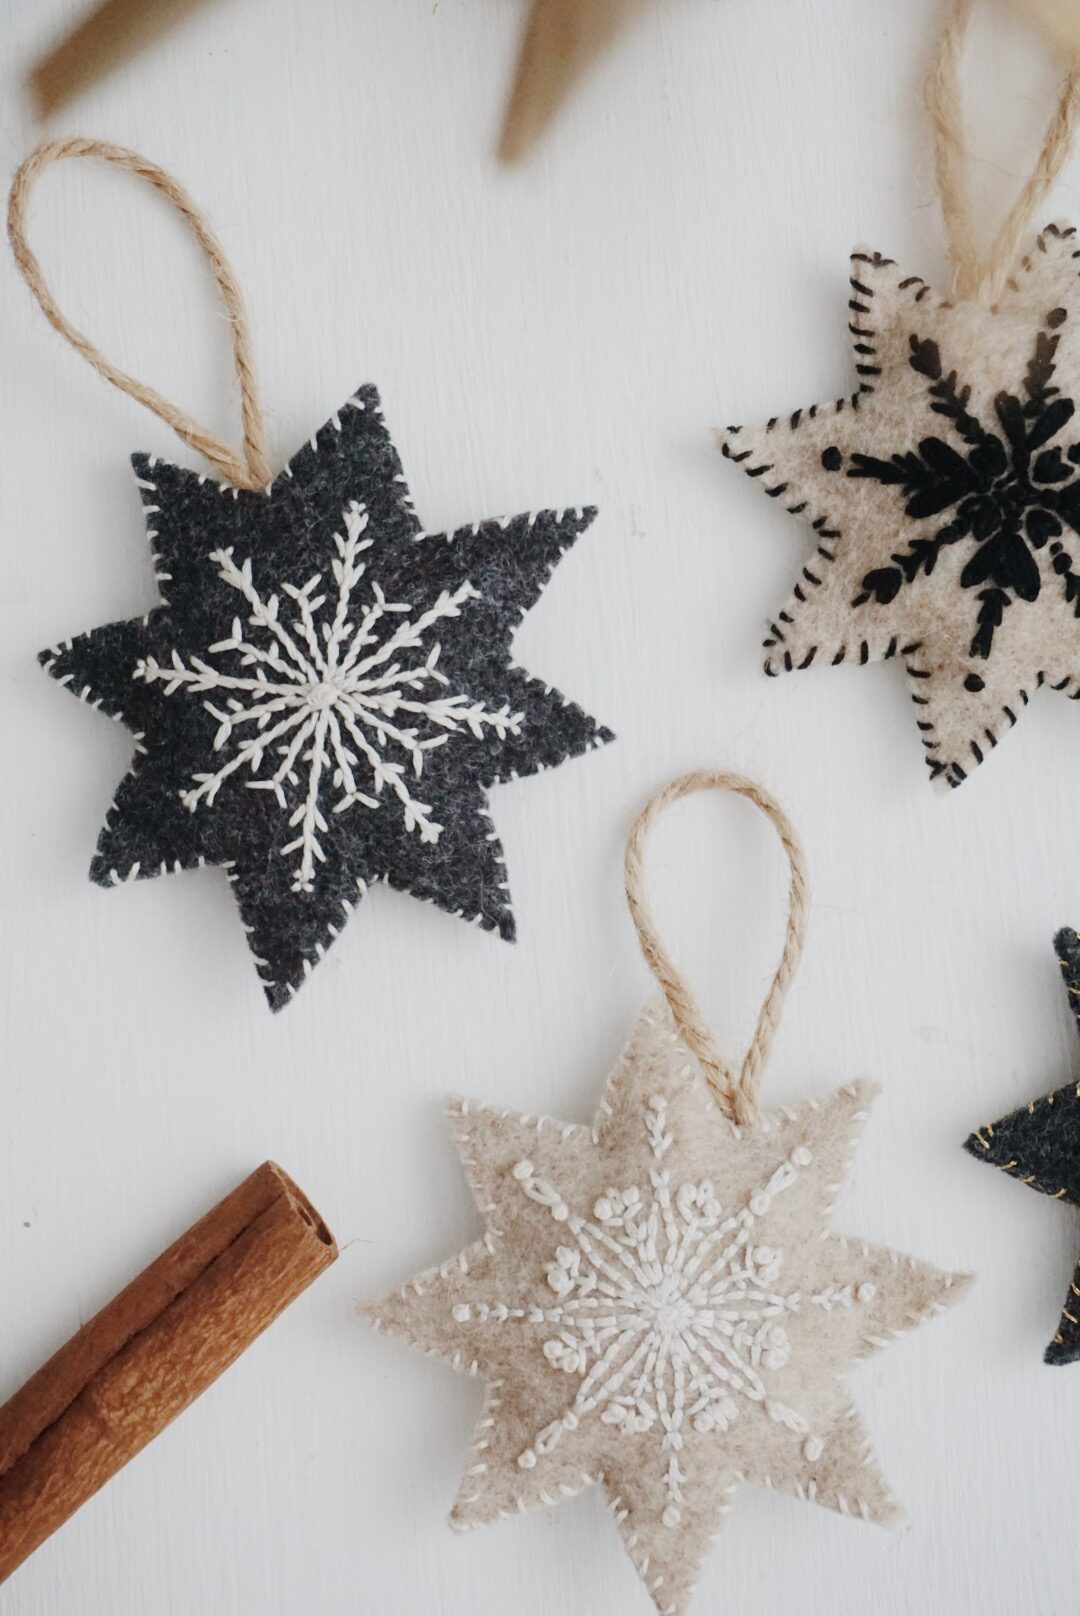
It’s the most wonderful time of the year again! At Christmas time I think my heart explodes just a bit out of excitement for the amount of festive DIY crafting it calls for! Each year I like to add some sort of new handmade ornament to my Christmas tree : ) I just love personalizing the Christmas tree with whatever creative mood and style I’m feeling. This year I have been really interested in learning how to sew and make quilt blocks. I decided to combine my love for hand embroidery with my interest in quilt blocks and all the fun star shape quilt blocks out there to create these cute little starry snowflake felt ornaments!
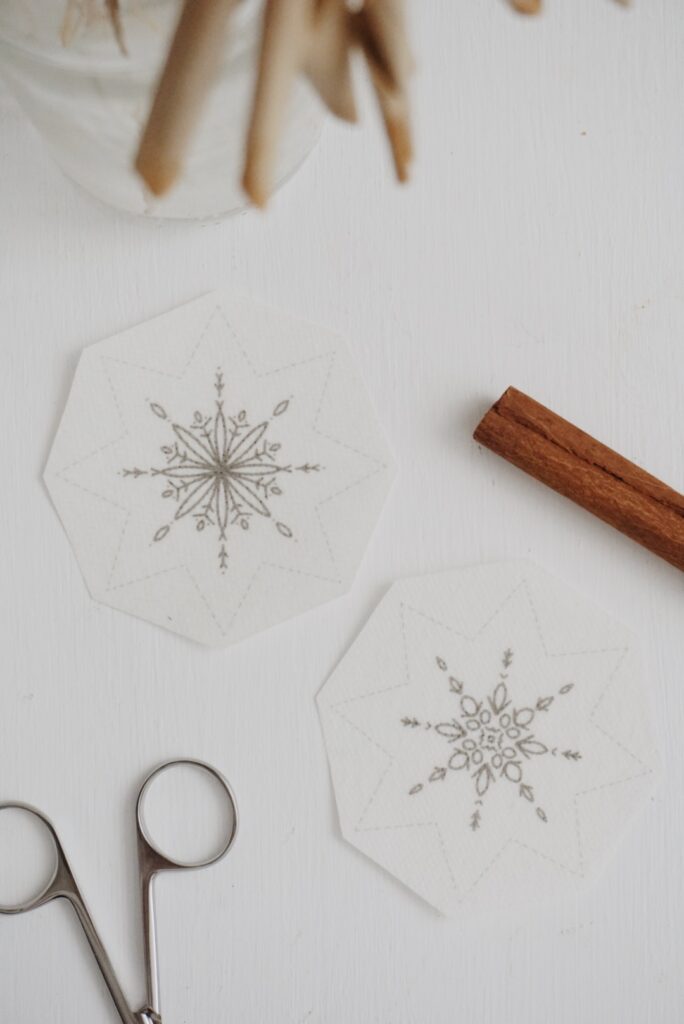
At the bottom of this page you can find 12 free felt snowflake patterns to download and stitch. In this DIY felt ornament project I recommend printing these snowflake patterns onto Sulky Solvy Stick and Stitch Paper. This paper takes all the work out of transferring. You just print, stick, and stitch (it really is just that simple)! After you’re done stitching you simply run your piece under some warm water and all the sticky paper disappears. It makes this craft such a breeze!
Follow along with these instructions to create your own snowflake felt ornaments! Feel free to stitch-a-long side me over on YouTube as well : )
Supplies Needed:
- Felt (I personally just used the felt I had in my craft room, the felts I used were soft felt from Michael’s Craft Store. More specifically the tan felt’s tag is titled “Basic Felt” and the black felt is titled “Premium Felt.” They both were super easy to work with)
- DMC Embroidery Floss (I used DMC 310 black, DMC 712 cream, and DMC D3821 gold)
- Embroidery hoop
- Embroidery Needle
- Scissors
- Twine (or any string to make the felt ornament hang)
- Filling to stuff the Christmas ornament (I just upcycled a piece of a plastic bag 🙂
- Sulky Solvy Stick and Stitch Paper
- Water (Running sink water to wash off the sticky paper)
- Access to a printer to print the felt patterns (Find the Snowflake Felt Ornament PDF Template download at the bottom of the page)
Ornament Instructions:
- Load the embroidery hoop with felt of your choice.

2. Choose one of the snowflake patterns, trim it down to size. Peel the backing off the snowflake and stick it to the felt on your embroidery hoop. It is best to make sure the felt is nice and secure to the embroidery hoop. I like to flip my hoop over and rub my fingers against the back of the felt against my flat workspace to ensure the sticky paper with the snowflake pattern on it sticks really well.
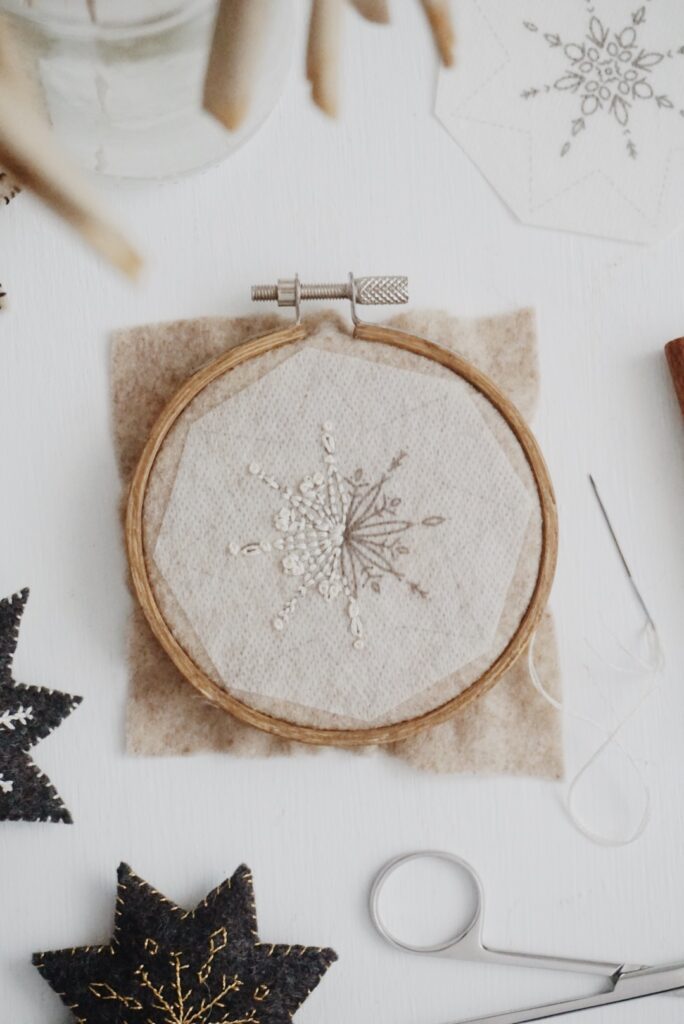
3. Once it is secure in place you are ready to stitch away! For my snowflakes I used 3 strands of embroidery floss and various beginner friendly embroidery stitches such as; the Backstitch, Straight Stitch, French Knot, Lazy Daisy Stitch, and Stem Stitch. This step is up to your own creativity, keep your stitches as simple or complex and detailed as you like! I also played around with different colors of embroidery floss and love how each of them turned out!
4. Once you have completed the embroidery design, remove the felt from the embroidery hoop and trim the felt down to get rid of the overhanging excess
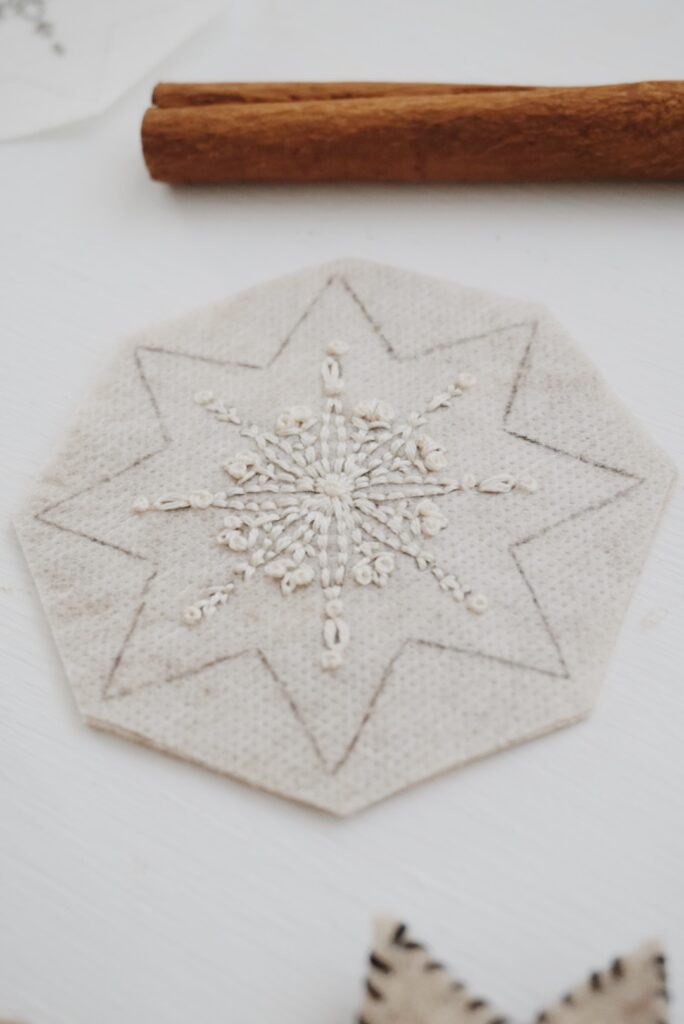
5. Grab another piece of felt and pin your embroidered snowflake on top of that felt and cut along the snowflake outline.
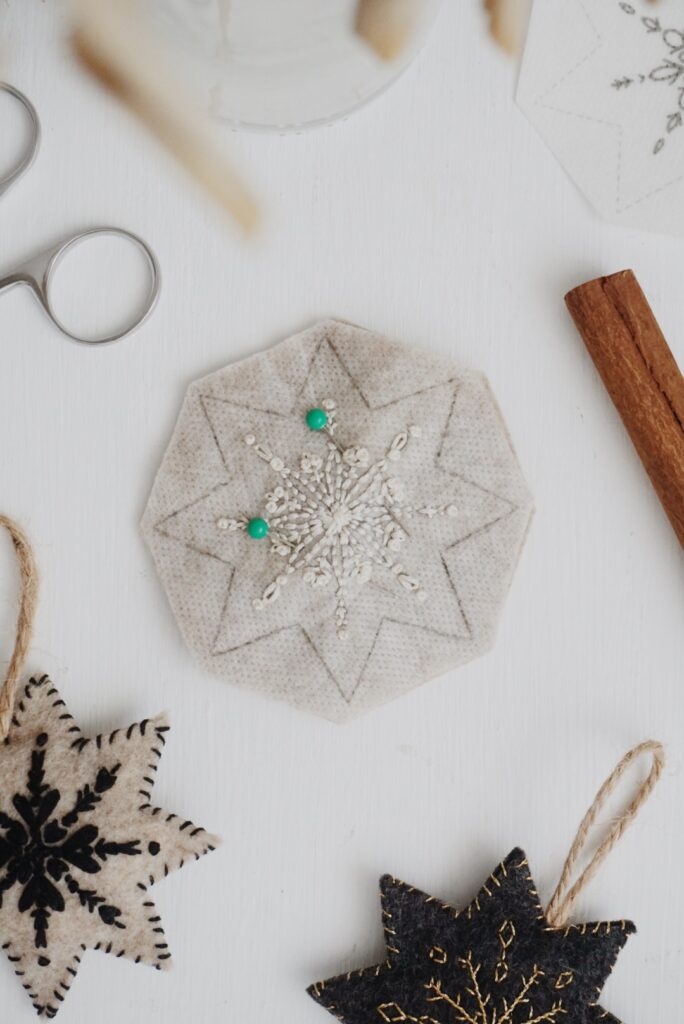
By pinning the two pieces of felt together this will ensure that your back piece of felt is a perfect fit when it comes time to stitch them together.
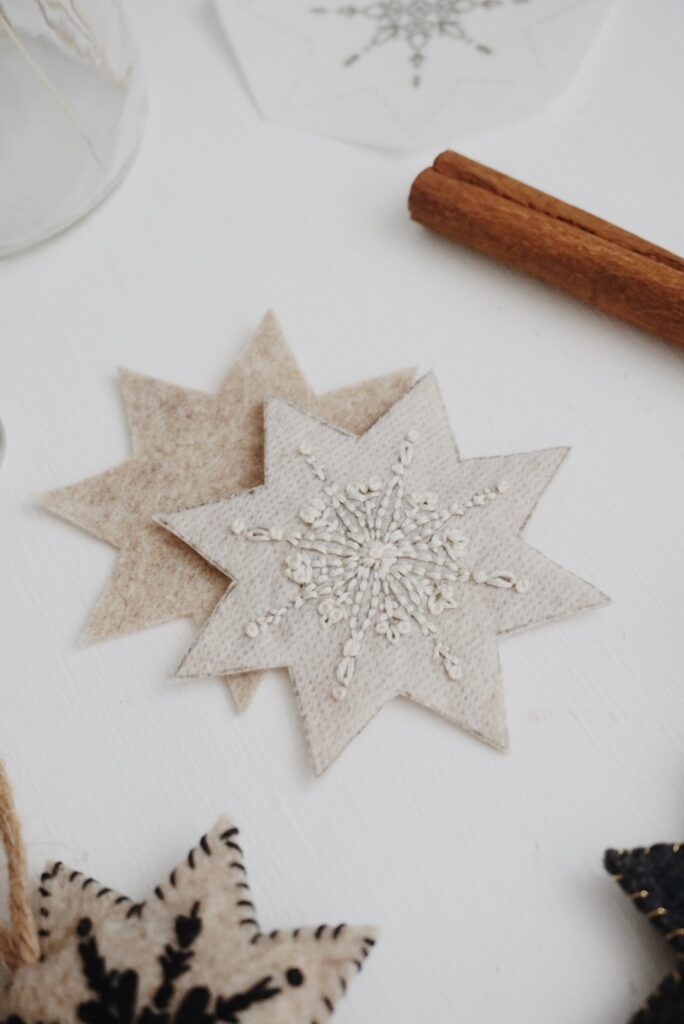
6. Unpin the two pieces of felt and dunk your embroidered snowflake under some warm running water. Gently rub the sticky paper with your fingers under the running sink water to help agitate it. In doing so the sticky paper will dissolve and you will be left with a perfectly stitched snowflake on top of the finished felt piece. Once all of the sticky residue has been washed away you’ll just want to let this piece of felt dry. You can first pat it with a paper towel and then set it out or hang it up to dry.

7. Once it has dried you are ready to start stitching the two pieces of felt together. Typically most felt ornaments are stitched together with the Blanket Stitch, but because this snowflake outline is quite pokey I was nervous the blanket stitch would crush the corners, so I just opted for a simple stitch to get the job done. First I knotted the end of my thread and then starting from the back of the ornament I went down through both pieces of felt and repeated this around the whole perimeter. For this step I used 2 strands of embroidery floss.
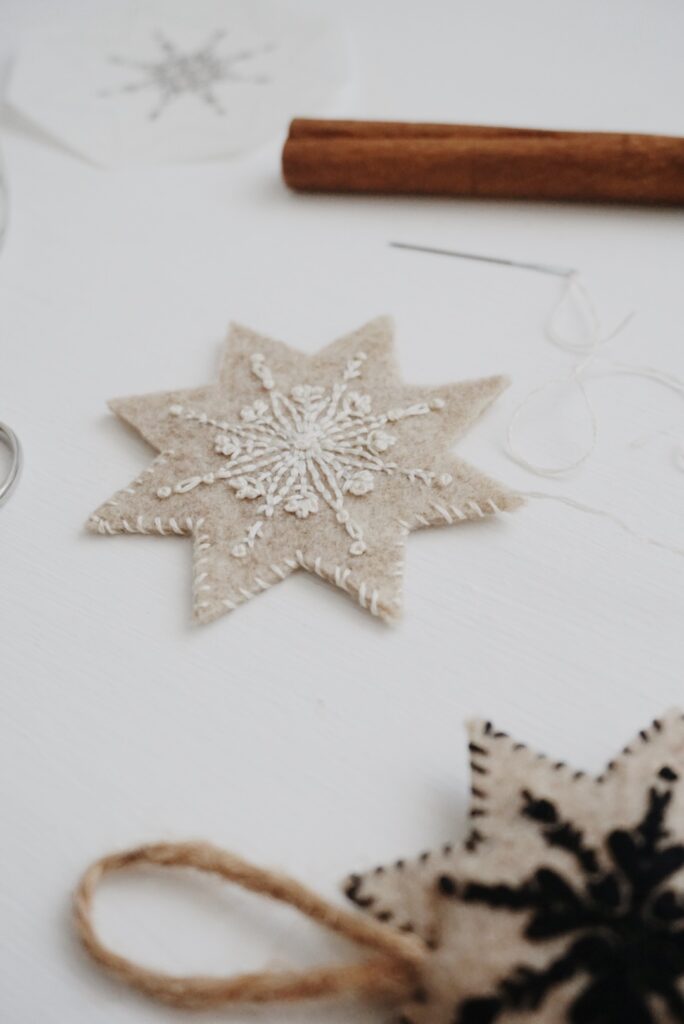
8. At some point you will want to add in the twine to be able to hang your ornament. I simply snuck this little looped piece of twine in while stitching around the perimeter of the snowflake.
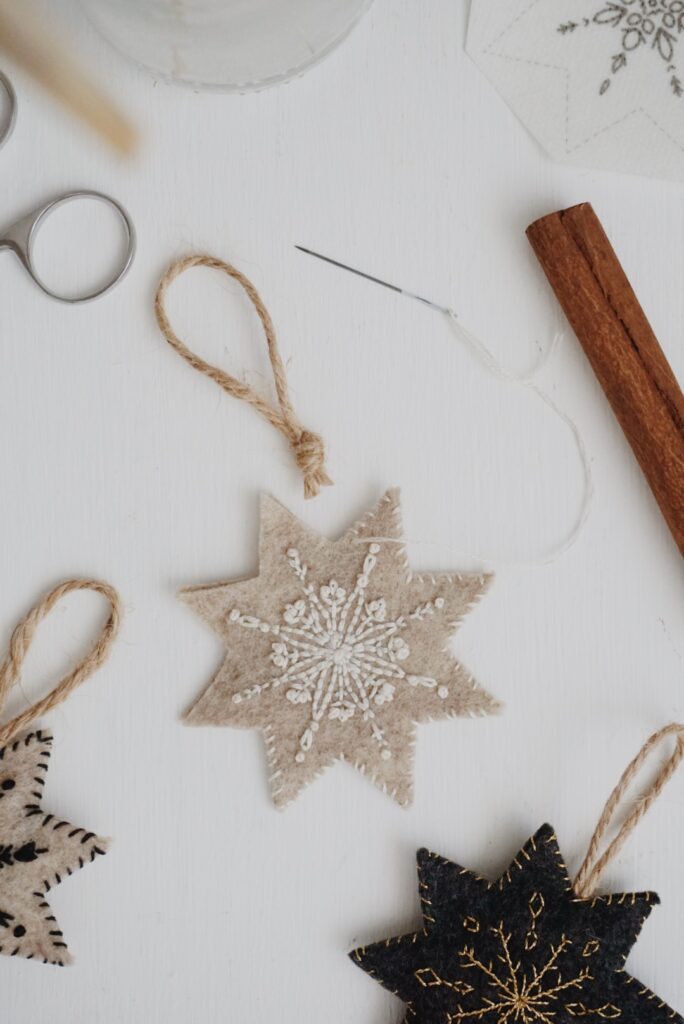
9. Before totally enclosing the snowflake you’ll lastly just want to add in your stuffing. To stuff my ornament and make it more 3D I just recycled piece of a plastic bag : ) & again continued stitching around the perimeter of the snowflake to totally enclose it.
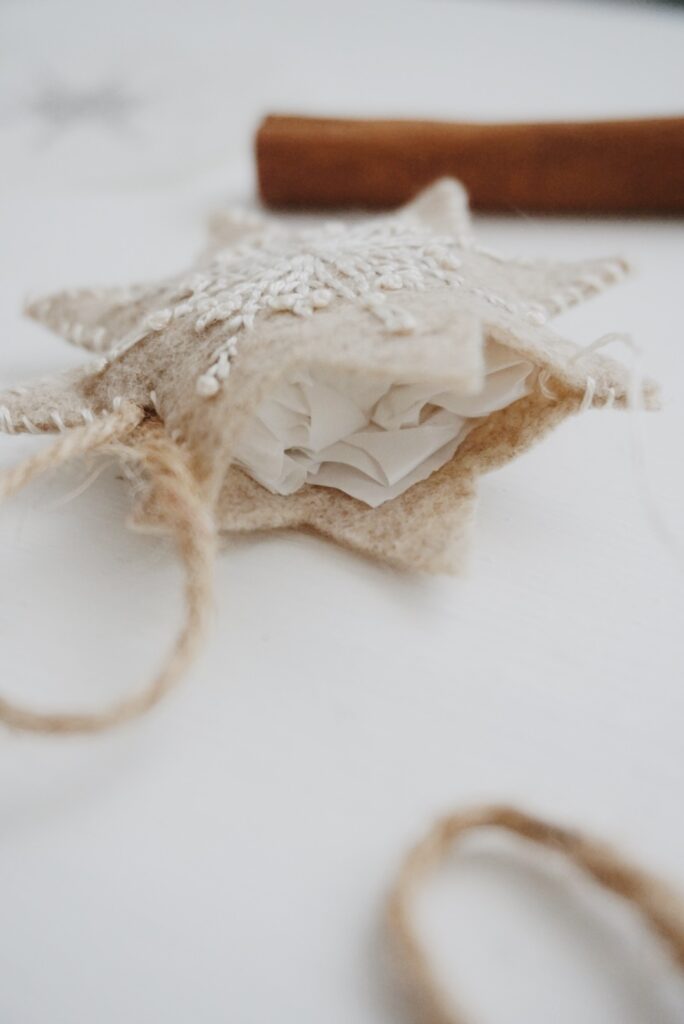
10. Lastly you’ll just want to knot off your embroidery floss and trim your excess threads and you are done! Your ornament is now ready for hanging on the Christmas tree! Feel free to have fun with this and change up your felt and embroidery thread colors to make the perfect customizable ornaments for your own tree with the rest of the snowflake patterns : )
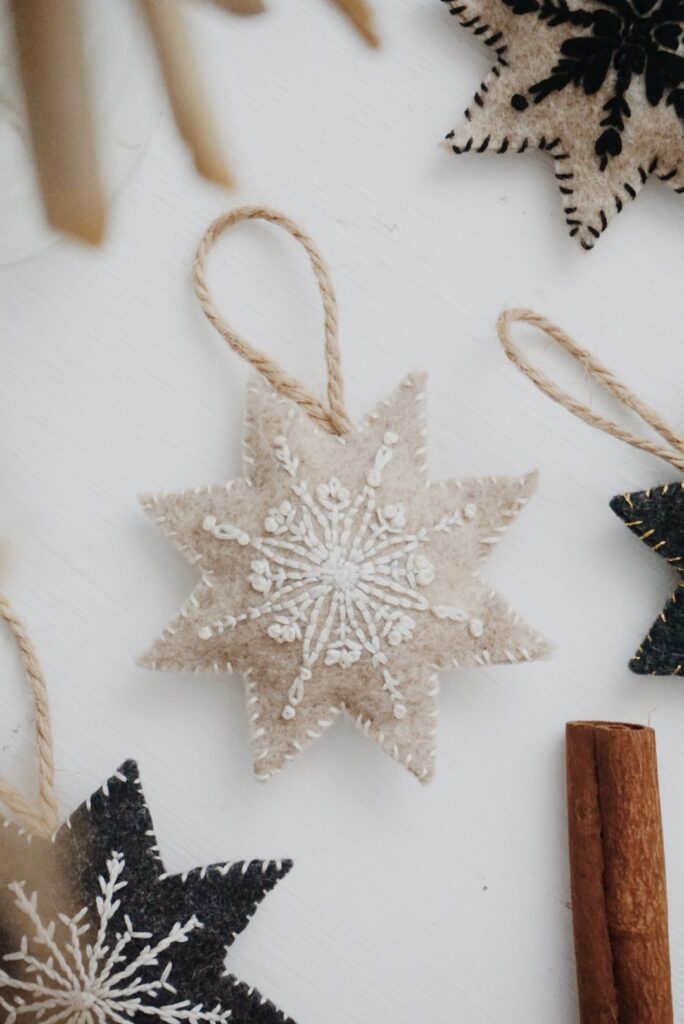
Thanks so much for stitching with me, I hope you enjoyed stitching up these homemade ornaments! Catch ya in the next Christmas craft -Kylie
Free Snowflake Felt Ornament Template Download:
These snowflake templates are scaled to two different sizes so choose whichever size you like best!

