

Prior to moving into this rental I had watched loads of beautiful renter friendly makeovers, however, when it came to renovating my own rental kitchen I let all of the negative comments on those videos I had seen get me down and hold me back. The biggest thing holding me back was the peel and stick contact paper for counters. In my mind I sided with those people who commented questioning why anyone would ever contact paper their counters as it is such a messy and high traffic area. How would contact paper last in such a messy space?!
That’s when I decided that I was stuck with the outdated brown granite and scoured Pinterest to see how to make it work… but I just couldn’t. I felt stuck.
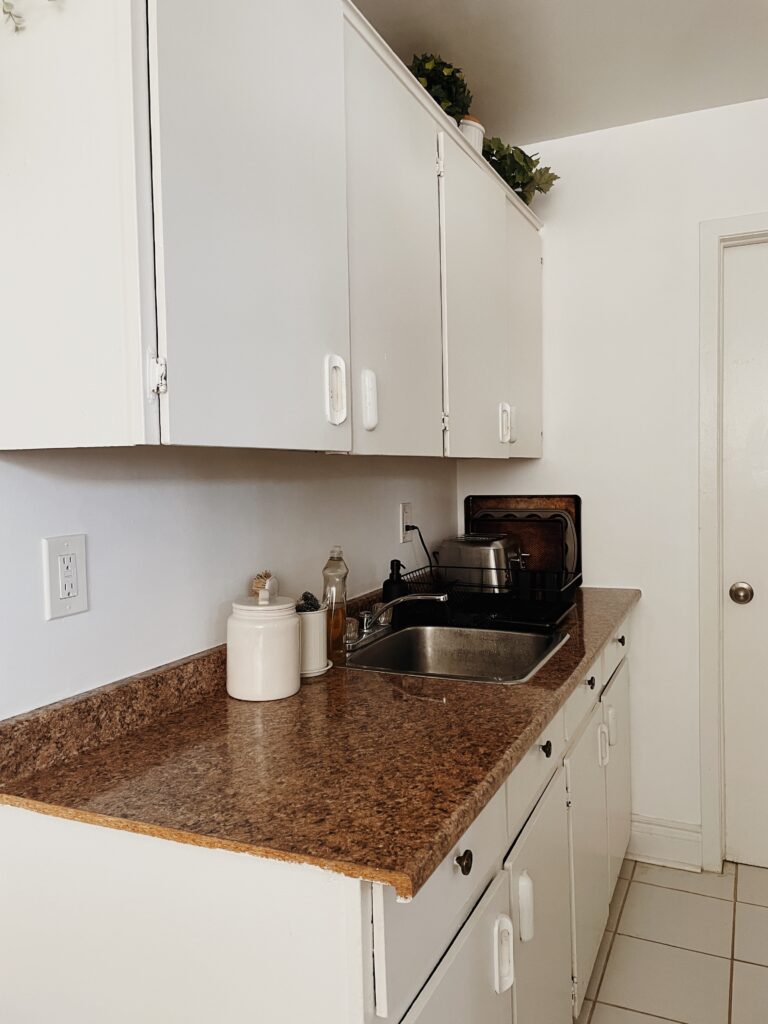
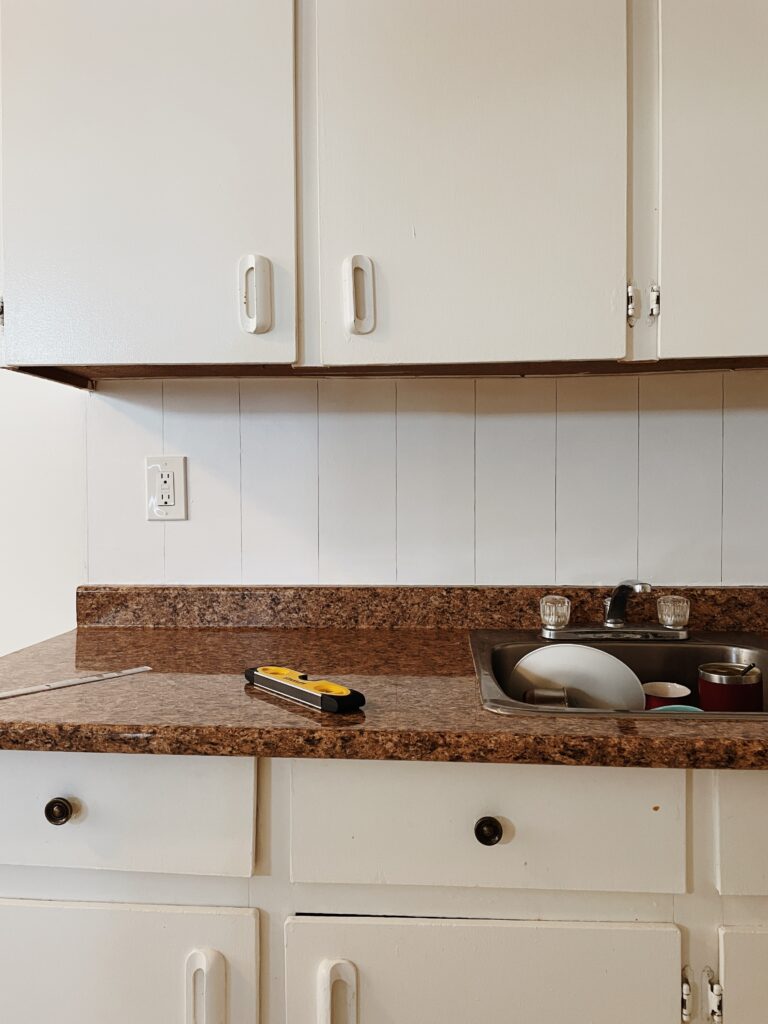
My outdated brown counters:
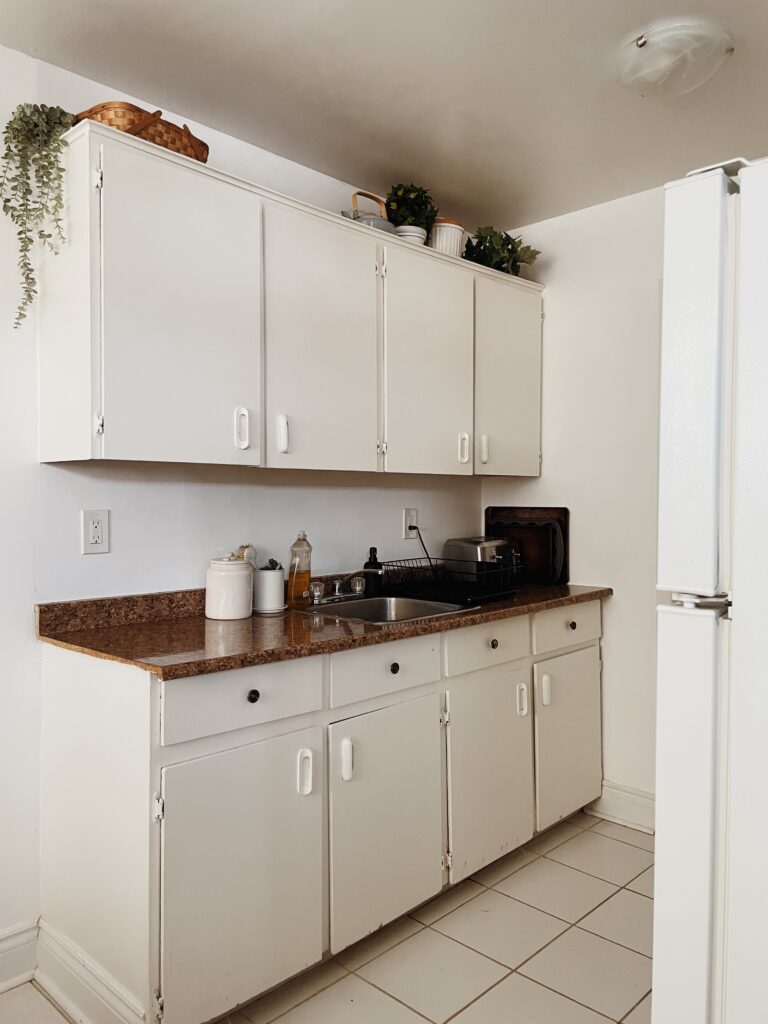
I circled back to peel and stick counters as this is the only thing I felt I could use to actually transform my kitchen as a renter. Upon further research I had found others who shared how their counters had held up for 2+ years and the secret to making it last was installing it properly with waterproof caulking around the sink!
Previous to this project I had never worked with contact paper nor caulking, but apparently I had just found the perfect combo to my ugly counters which was the gateway to a whole new kitchen!
Finally now that I knew I could transform my kitchen I decided that if I was going to take on this project, then I was going to design the kitchen of my dreams: a cozy cottagecore kitchen : )
Designing a Cozy Cottagecore Kitchen
The first thing I think of when I imagine a cottagecore kitchen is white bead board backsplash. I absolutely love the look! However, as a renter, I couldn’t just run the to hardware store and buy sheets of this to nailgun to my wall. Though, while at the hardware store drawing inspiration, I did see this lovely roll of bead board wallpaper that looked quite realistic as it was 3D and paintable. I considered it, but because it wasn’t peel and stick I opted to not go for it for fear of the removal process and damaging the walls. Anyways it was a bit pricey and I’m more of a penny pincher, so instead I decided on bead board’s brother- vertical faux shiplap! & the free version at that haha!
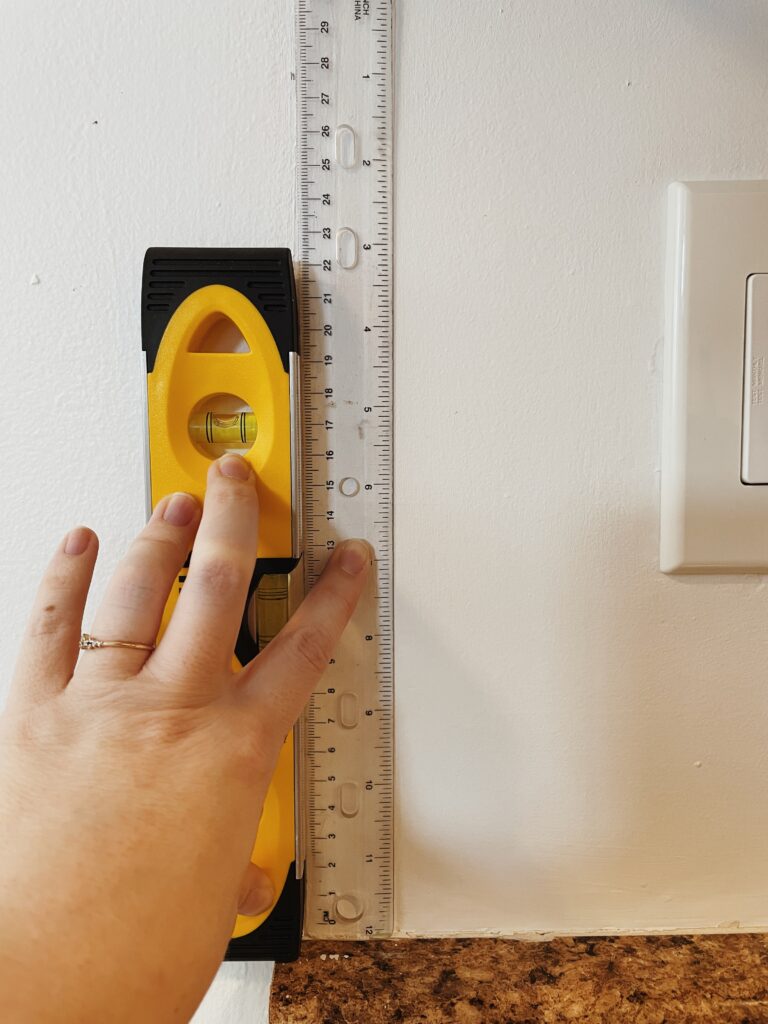
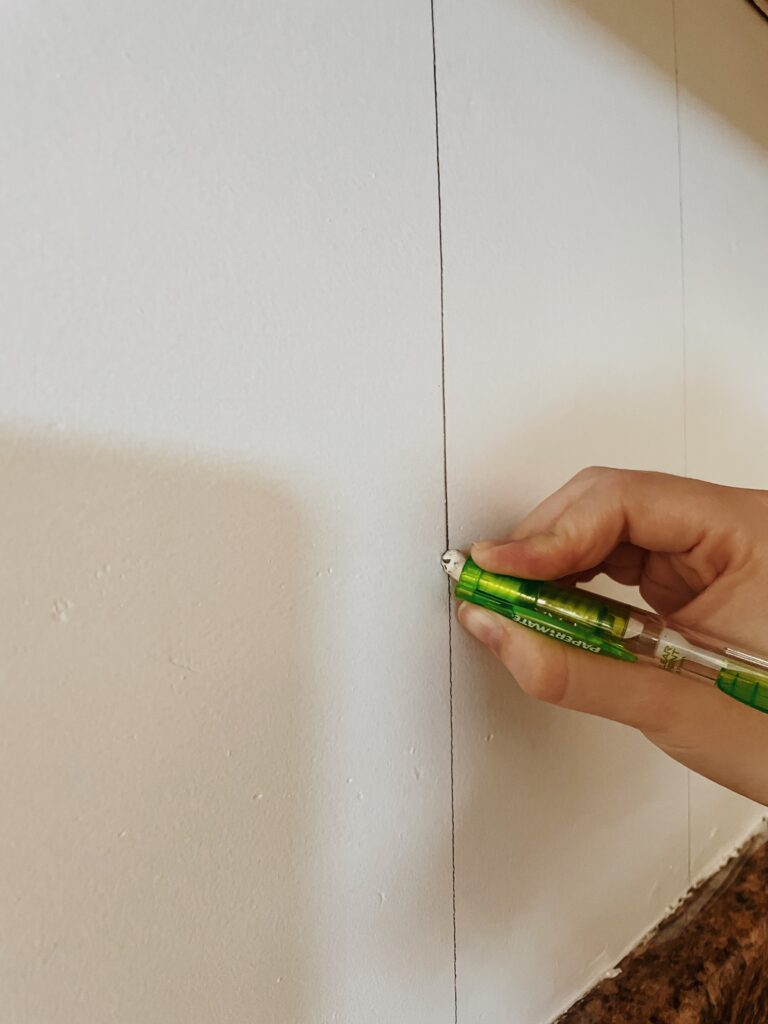
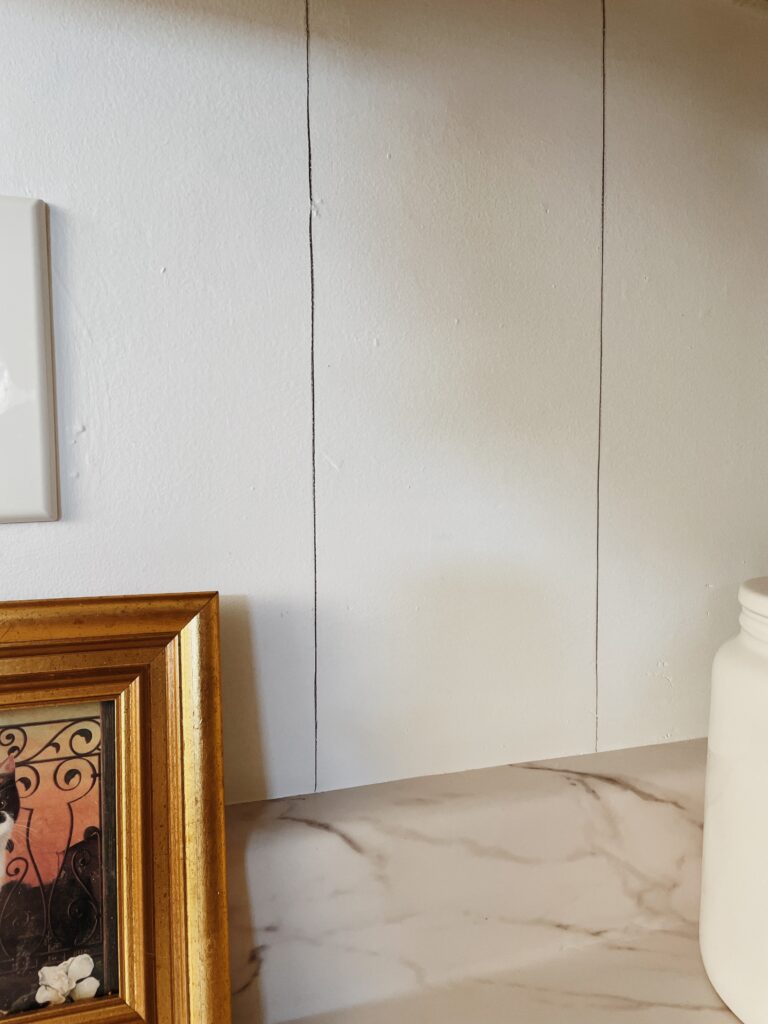
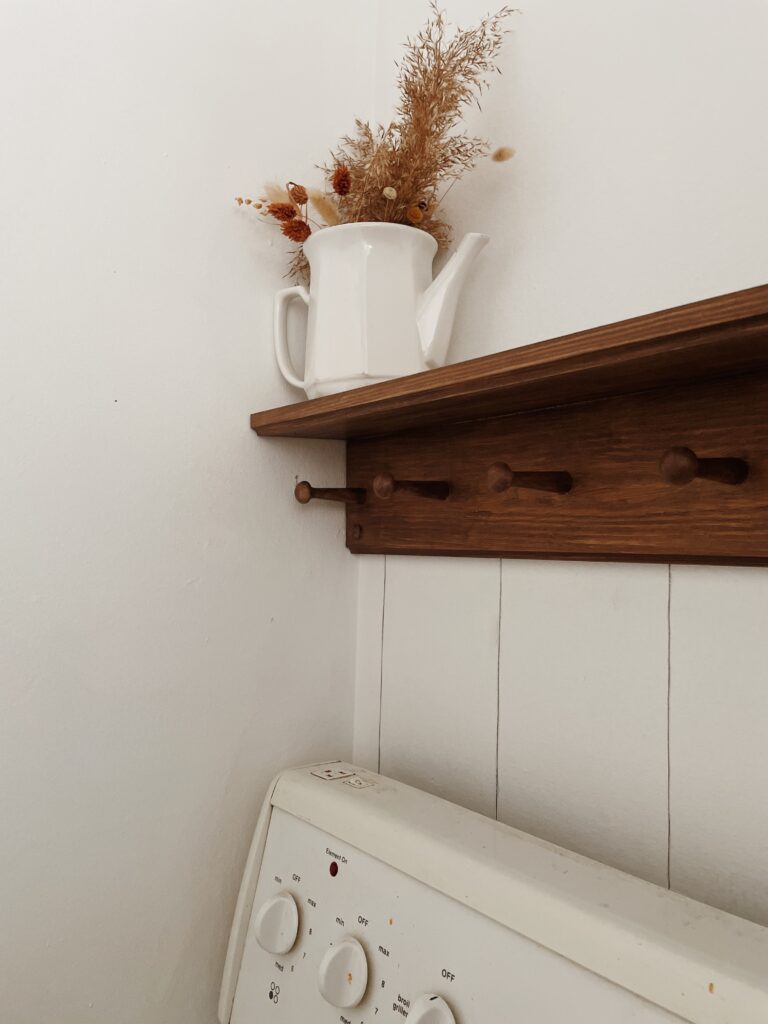
Faux Vertical Shiplap Backsplash
This is something I had already done as an accent wall in my living room to compliment my faux fireplace so I thought I’d give it go in the kitchen, the only thing I did different was flip it to make the shiplap vertical! It’s super simple to install ; ) You simply draw vertical lines with a normal pencil on the wall and then run the eraser over top of it to help thicken and smudge the line a bit for a less rigid look! The perfect shiplap backsplash fix for free! I spaced my lines out 6 inches and I think that gave a realistic shiplap look. Altogether this took me about 30 minutes, easy peasy!
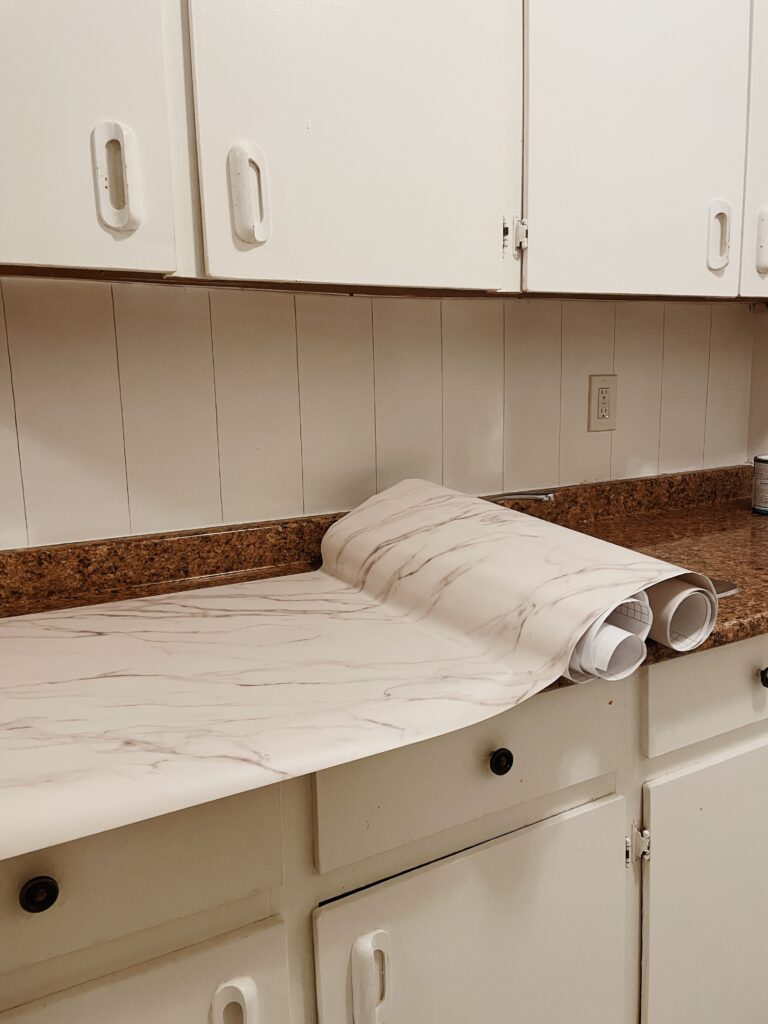
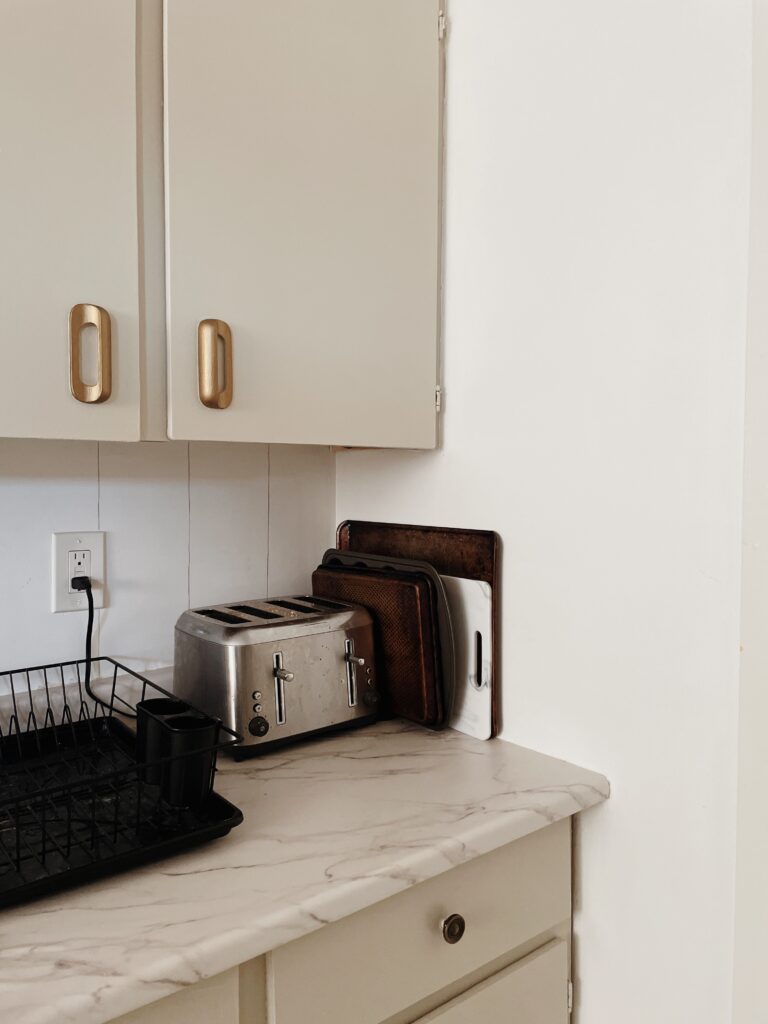
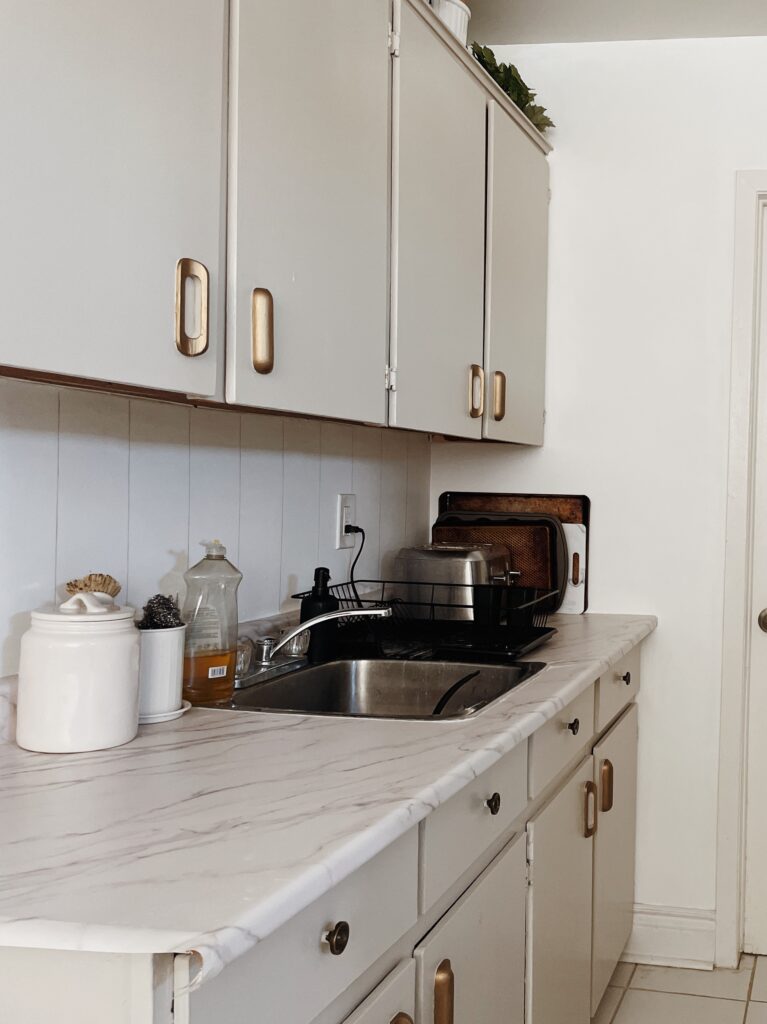
Peel & Stick Marble Contact Paper Counters
This was my first time working with contact paper and I have to say after reading all the contact paper reviews on Amazon I was pretty nervous as I had seen quite a few horror stories lol. But I’m happy to say it really wasn’t that difficult to install! Don’t get me wrong though, it definitely took patience and a slow pace, but totally doable by a beginner!
When shopping for this contact paper I had seen a number of different size options and had debated purchasing the extra wide kind to get the counter done in one giant swoop so everything was nice and connected. The price point for them was quite a bit higher and in the end I’m glad I didn’t go that route as it would have been really difficult to accommodate the portion of my counter that continues and curves onto the wall.
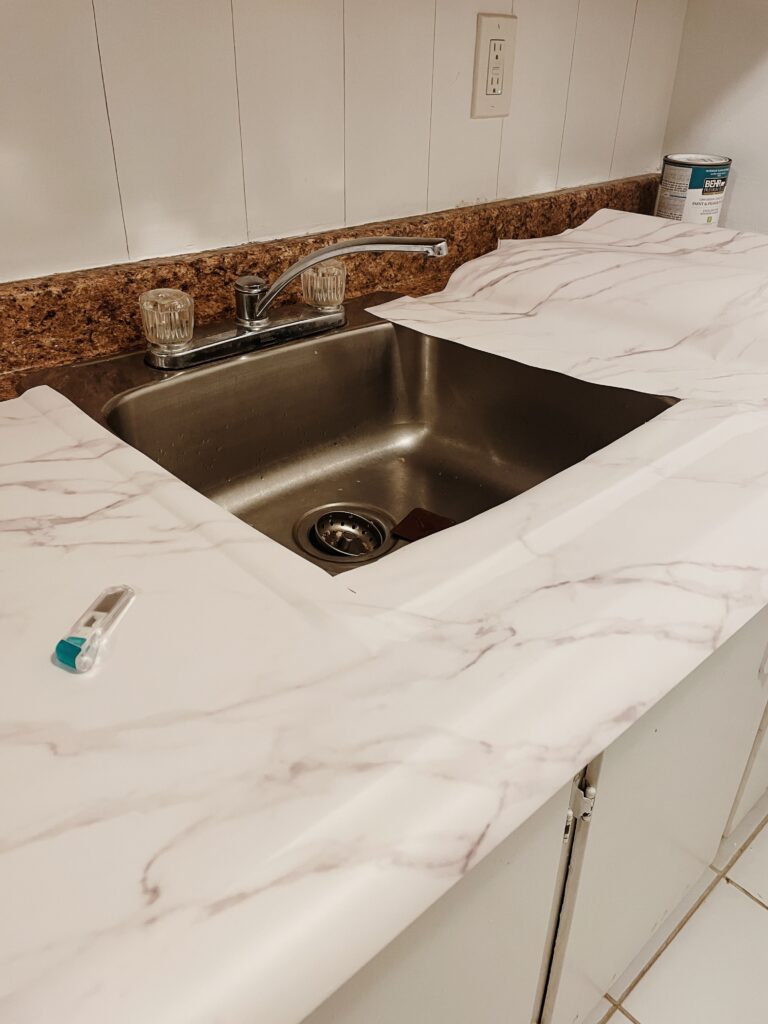
While I didn’t opt for the wider version I did opt to go from left to right across my entire counter for a smoother finish. I just ended up having to cut out my sink as I went. At first I played it safe and cut away from the edge of the sink and then later came back to actually cut it at the sinks border. You can always cut more away but you can’t put back what you already cut!

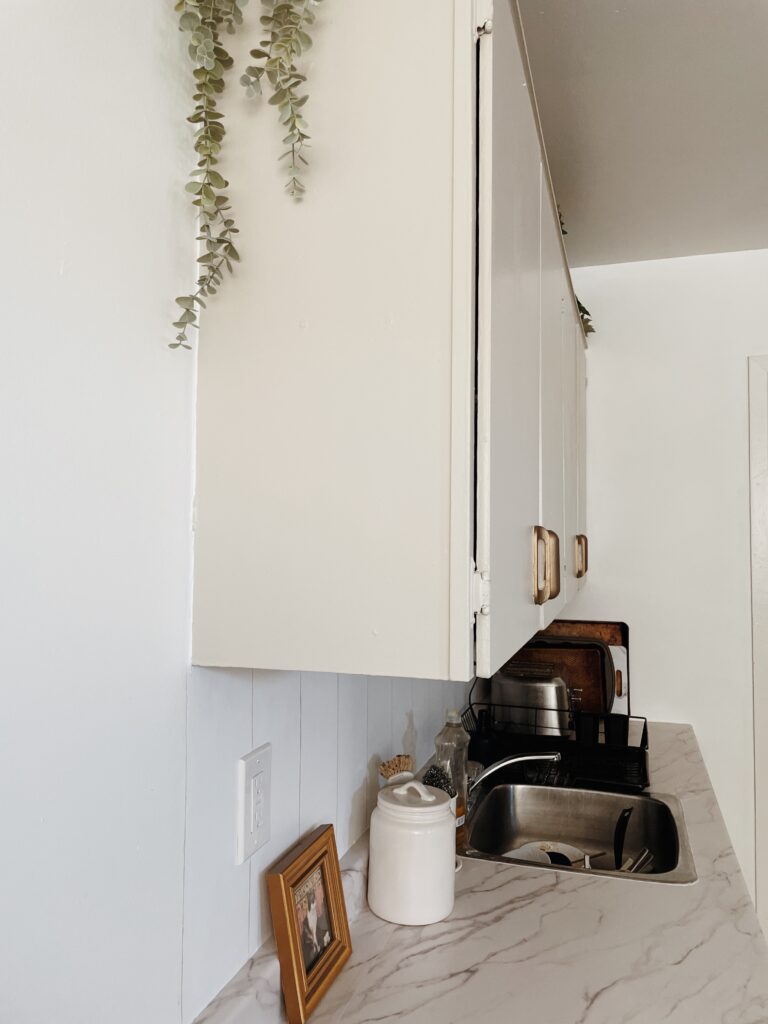
After finishing the main portion of my counter I moved onto the curved portion the connects to the wall. This was the trickiest part. Since it was more tricky I didn’t even bother trying to line up the patterns. I wasn’t too concerned about this as I usually have little jars and other household kitchen items lined up against this wall covering this portion of the counter. You can really only notice it if you intentionally look for it, and let’s be real, the only person that’s actually going to be looking for this crease is me and you since I pointed it out lol.
So here is the crease, easily able to be hid by kitchen appliances and other household items : ) I ended up having a bit of a problem here with the contact paper creating a bit of a gap. No matter how many times I smoothed it out these gaps would reappear. I do have leftover contact paper so I think I need to bite the bullet and just redo this small strip.
It’s only been a week, but in terms of actually working in the kitchen I’ve been really impressed with the durability of the contact paper so far. This was something I was a bit nervous about at first as we create lots of messes on the counter from dishwater, to coffee drops, to messy spoons, to kneading sourdough. So far everything has wiped off nicely! I’ll have to share an updated post in a year to let you know how things go after we spend ample time working in here, but so far so good!
& in case you’re wondering this is the specific marble counter contact paper I used: white marble contact paper 61×406 cm
A Fresh Coat of Paint on the Cabinets
One thing that I am so thankful for in our rental is that we are allowed to paint the walls and the cabinets! As a DIY enthusiast that is a must have when moving into a new place : ) It makes my heart so happy to love where I live and if I’m not living in a house that I love the color of the walls, then I just have to paint them.
Whenever we first moved into this townhouse rental the walls were all this brownish tannish color that I was not fond of so I painted all the walls white. & now two years later here I am painting the cabinets a tannish brown lol, but not the same tannish brown that the walls once were lol.
If I’m being honest color matching and color design is not something that comes to me naturally. I feel like I need help in this area and to ensure that I didn’t pick the wrong color or have to paint these cabinets multiple times to undo any mistake, I simply ran to the experts on Pinterest. There I found some pretty DIY house projects that people had shared the paint color they used and I ran with their suggestions to ensure I had success on the first coat of paint.
In my research I kept coming across Revere Pewter by Benjamin Moore, but to my knowledge my local Home Depot only sold Behr paint. I then researched a color match to it and decided on Sculptor Clay by Behr.
I ended up really loving the look of it as it is nice, neutral, and subtle. Depending on the day in some light it looks like it is a bit on the grey side, but at other times it looks like it’s on the creamy tan side. It gives the best of both worlds! I can’t wait to use my leftover paint on a renter friendly board and batten wall in my living room!
Bronze Hardware
The finishing touch to my renter friendly kitchen makeover was incorporating bronze hardware… or so I had hoped. Since my rental is on the cheaper side, my cabinets are nothing fancy and I think they’ve been here since the 1970s lol. The handles are wooden and had been painted over and over numerous times. I tried to remove them so I could screw in new hardware, but they were not budging even after I removed the screws. They must’ve been wood glued on at some point.
This led me to simply painting them with some cheap acrylic metallic paint from the craft store. There were so many different color metallic paint options, but I picked the paint I thought was the most bronze to best match the four other pieces of hardware on my cabinets that weren’t wooden handles, otherwise I would have been more tempted to go with something more gold.
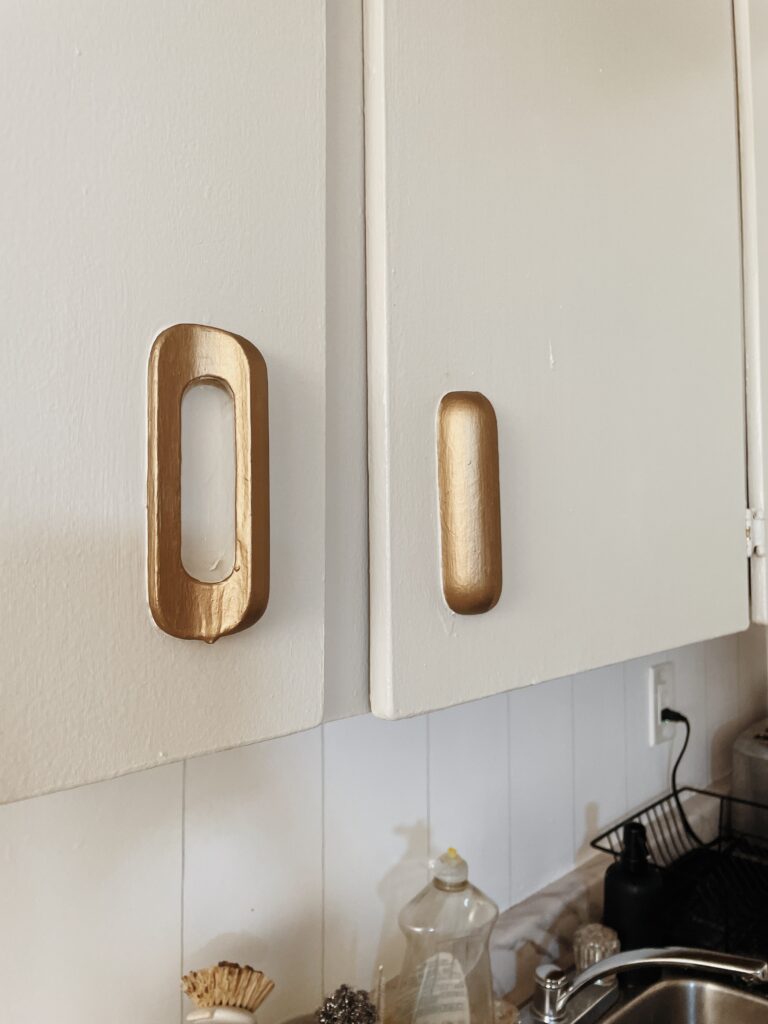
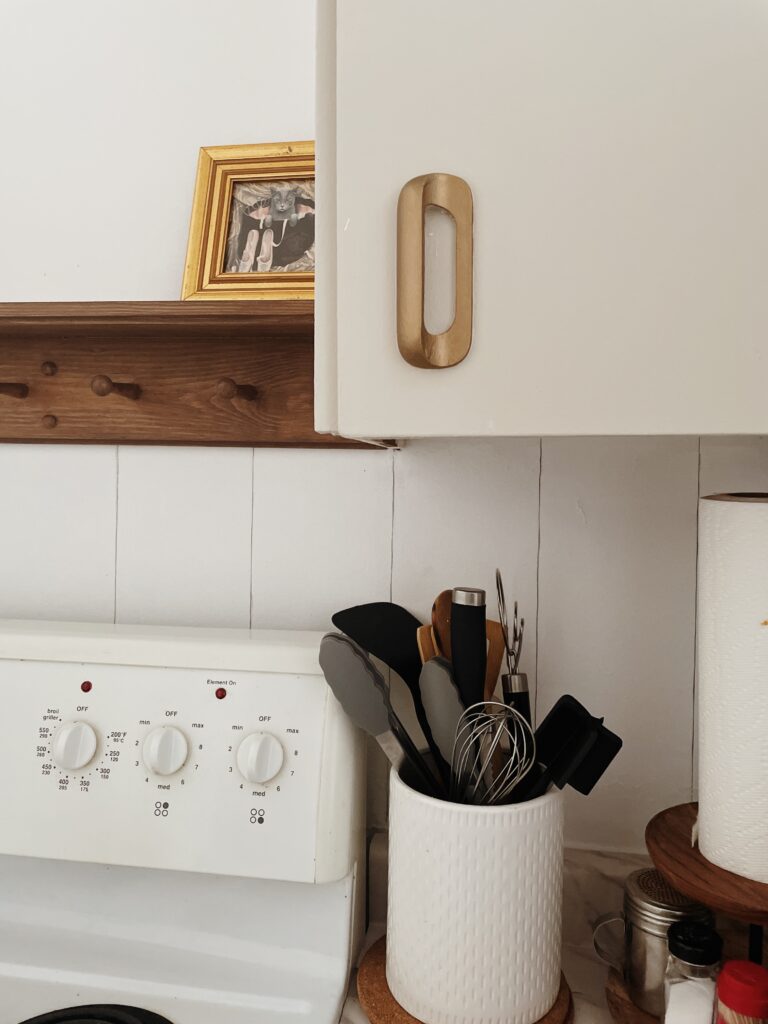
I ended up really loving the finish of these as it added more interest and contrast in the kitchen as compared to the more flat look it was giving off previous to painting them. The only down side to using this paint was that it took lots of paint coats (It took 5 or 6 coats lol) and lots of patience. Well worth it though! & if they ever need touched up or a refresh I can just grab my paint and a little paintbrush and apply another coat on a quiet day in the kitchen.
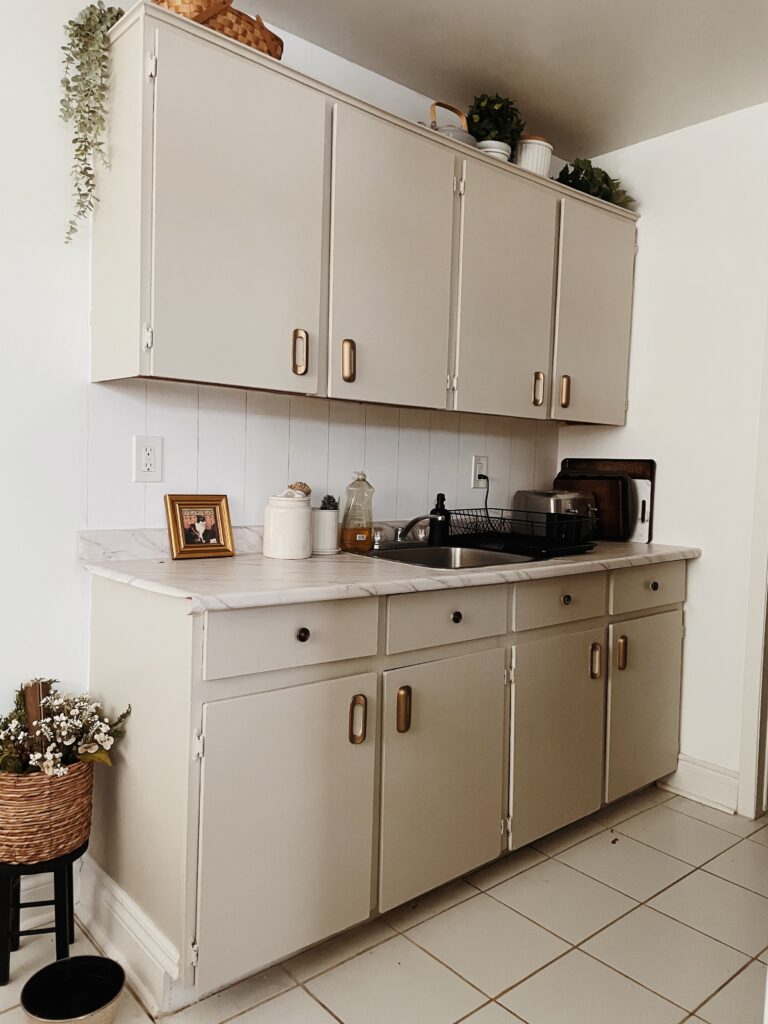
From Outdated Granite to Cozy Cottagecore on a Budget
It’s truly wild what a little bit of money, paint, and contact paper can do to give new life to a cheap kitchen. This upgrade only cost me $80 CAD! Here’s a list of the supplies I bought for this kitchen makeover in Canadian dollars:
- Peel and Stick Contact Paper: $40
- Cabinet Paint $26
- Caulking $10
- Metallic Acrylic Paint $4
From outdated granite to cozy cottagecore- what an upgrade! I so love how this kitchen turned out : ) This year I am working at being better in the kitchen as I am a beginner when it comes to cooking and baking and this makeover definitely makes me want to spend more time in here. I find myself rounding the counter to peek little glances at it haha! How fun it is to love where you live 🤍 Extra fun to know you created and curated it with your own two hands : )

Thanks so much for stopping by! Until my next DIY house project you can find me at the the thrift stores finding the perfect pieces to decorate this space : )